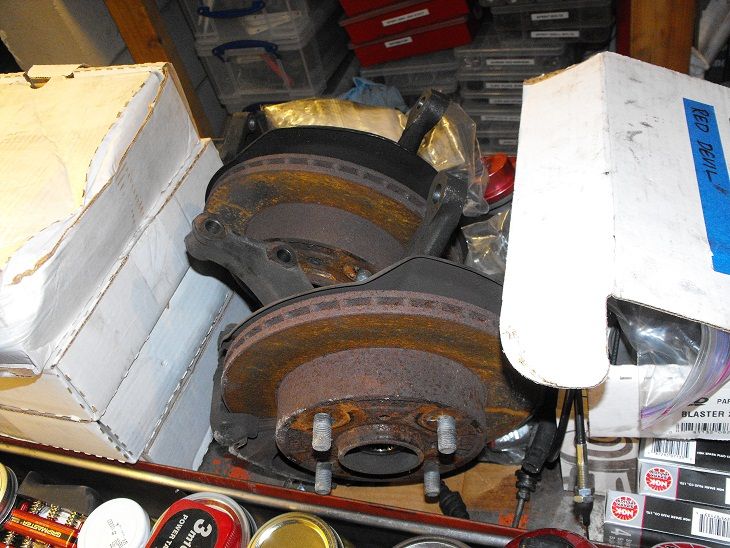
Time for some front brakes.
Brakes are easy, but replacing the rotors are a pain in the butt
as you gotta separate the hub from the knuckle.
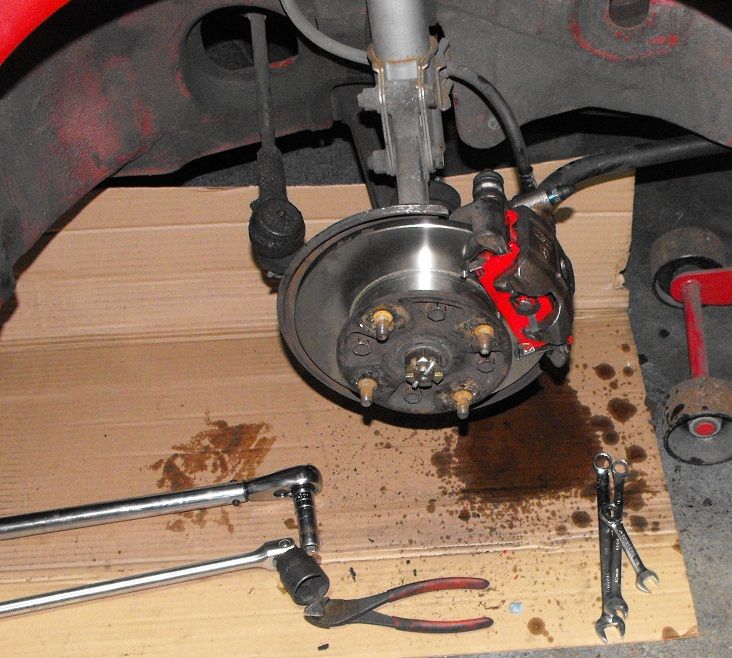
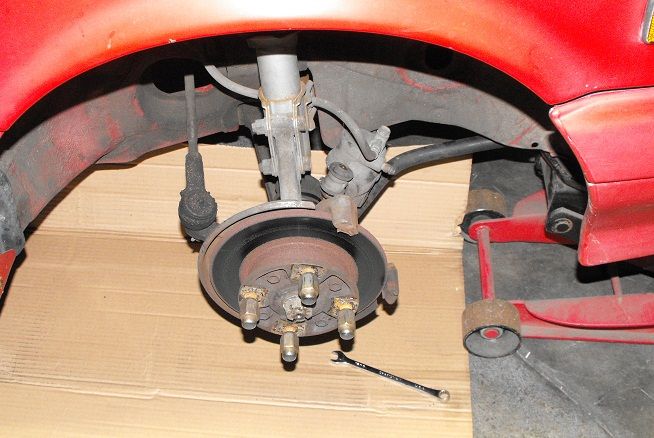
I usually get all my stuff set up first.
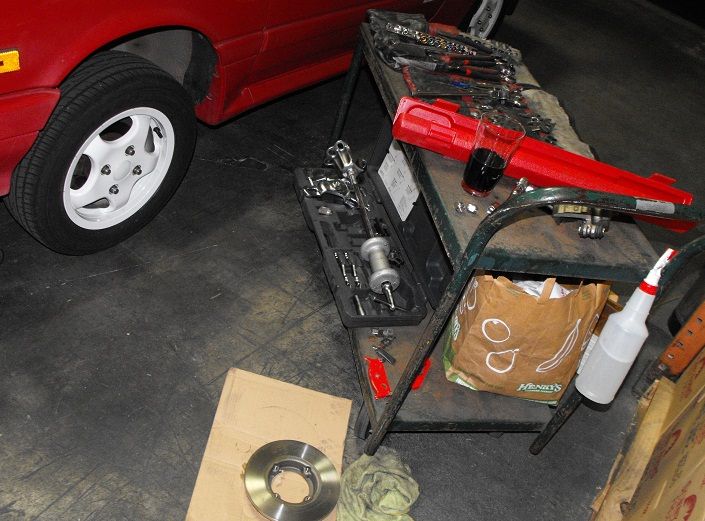
A flex ratchet and spark plug socket make the perfect lug wrench,
plus the socket is thin enough to work with my oversize lug nuts yet
still fit in the rim without marring the finish.

Crack the lug nuts loose, raise the car then take off the lugs and wheel.
Use a 12mm wrench to loosen and remove the caliper bolts.
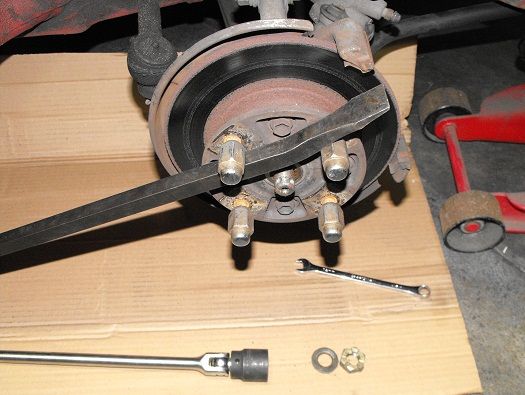
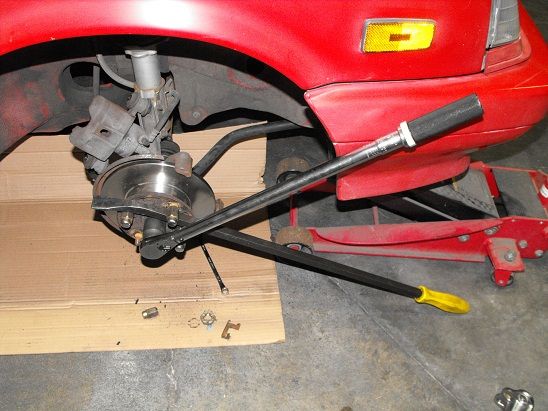
Put the lugs back on finger tight and stick a prybar in and let it rest on the ground.
Now you can use a breaker bar and 30mm socket to take off the axle nut once you've removed
the cotter pin.
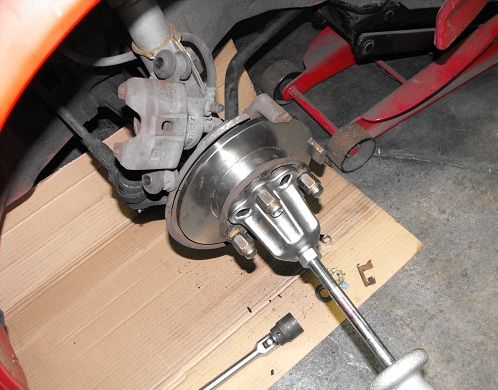
Fit a slide hammer on the hub and snug up 2 lugs, a couple firm taps and the hub should
come out.
It's a good idea to service the wheel bearings at this point, but I wont go into that this time.
It requires removing the knuckle, popping out the seals, cleaning and repacking the bearings
& installing new seals.
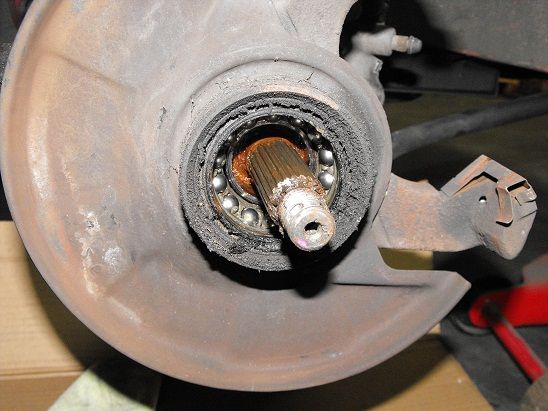
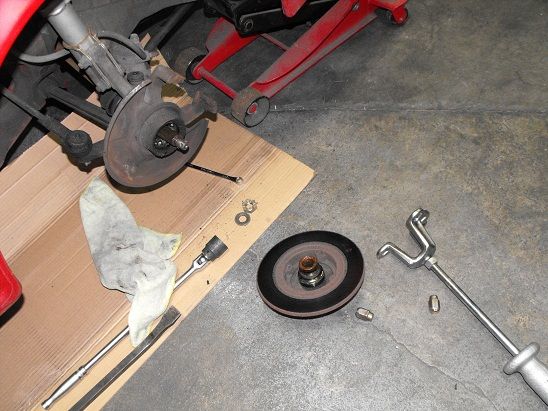
Once you get the hub out, remove the 4 bolts securing the rotor with a 14mm socket.
Replace with new rotor and snug up the bolts hand tight. (Be sure to wash the rotors
and scrub off any rust preventive coating first)
Using the slide hammer as an installation tool, position the hub on the axle splines and
center in the knuckle. (Make sure to have some grease or anti sieze on the axle splines
to facilitate removal for next time and prevent siezing)'
While rotating the hub to ensure even installation, some firm taps
will seat the hub back into position. You know when it's fully inserted because you will
feel it and the slide hammer will have a different sound when the hub seats. Don't worry
if there seems to be a little play, this is normal and the play will dissappear when you
torque the axle nut.
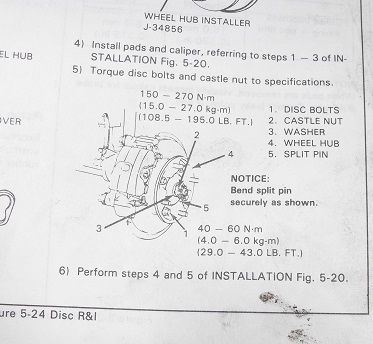
Using the prybar method, torque the lug nut and rotor bolts to specifications and
install new cotter pin. If the cotter pin holes don't quite line up after torquing,
use the breaker bar to move the nut slightly (tightening clockwise, not loosening).
This brake job was easier because I was replacing the calipers as well.
They came loaded with pads and new clips.
Attach the clips and lubricate the sliding surfaces with brake grease,
attach the brake pad clips and wear indicators. Load the outboard pad
and attach the inboard pad to the inside of the caliper piston, then install
caliper. Since the calipers are new, they are already retracted so they
should go on pretty easy. Also a good time to install some anti squeal or
light brake grease on the pads where they contact the caliper or piston.
Detach the hose from the old caliper (I had already cracked it loose before
removing) and install using new sealing (copper) washers to new caliper.
Open the bleeder screw and tap on the caliper lightly while 'gravity bleeding'.
Since the caliper is retracted, it will only take a minimum amount of fluid to fill
it. Close bleeder screw and depress pedal firmly and slowly until you get
a solid pedal. Crack the bleeder again making sure all air is removed.
If you have a buddy to help or a one man bleeder now is a good time
to bleed some fluid out. Be sure to top of the master cylinder before
moving to the next side.