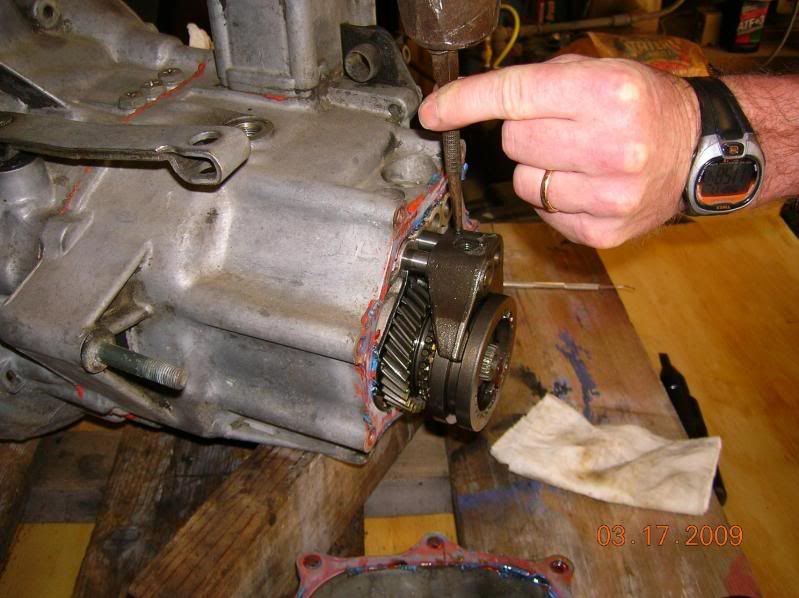
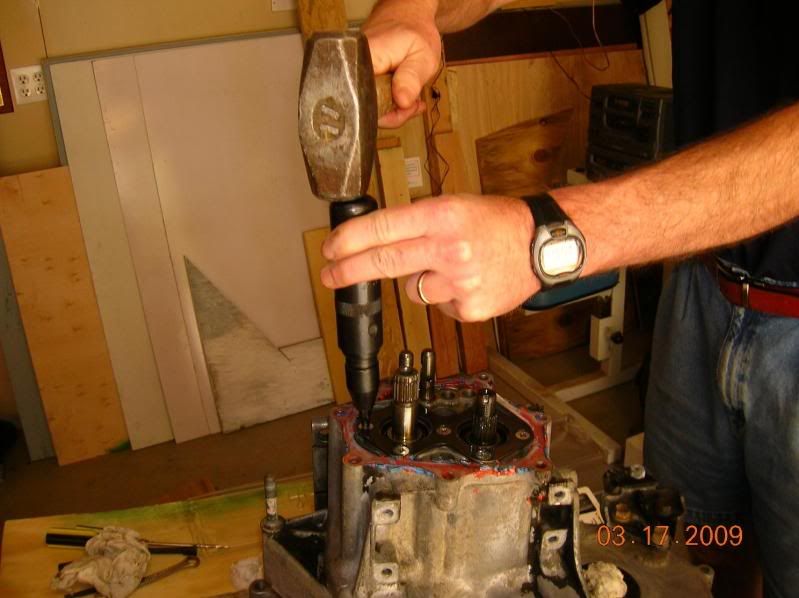
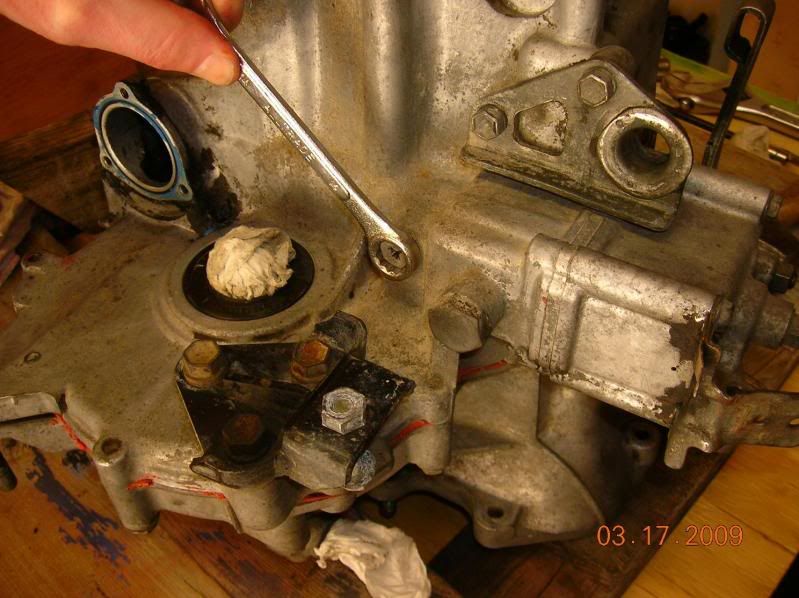
Removing the roll pins mentioned was the most difficult part of
the whole process for me.
I could not get the center pin out, and removed both pins as one
with a sturdy punch and some firm hammering.
I've dreamed of making a tool to press it out as some sort
of mini C-Clamp that would remove and install for future rebuilds.
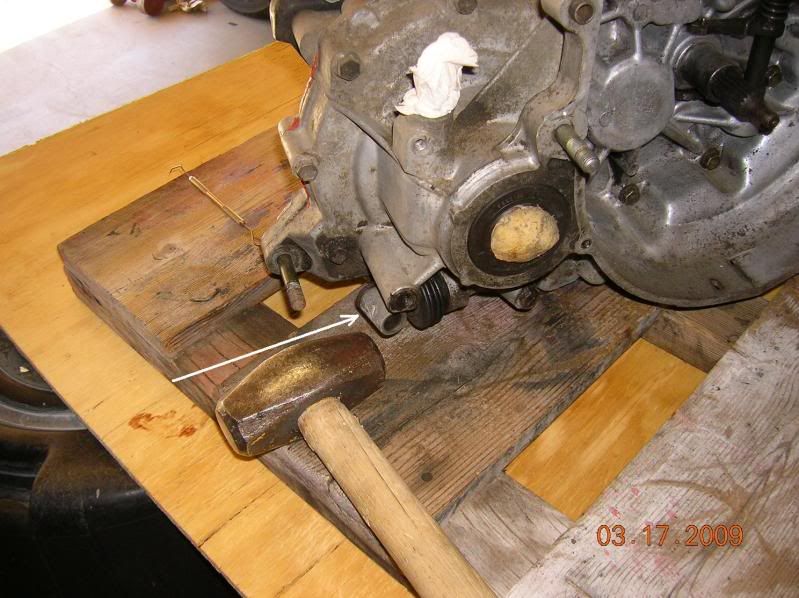
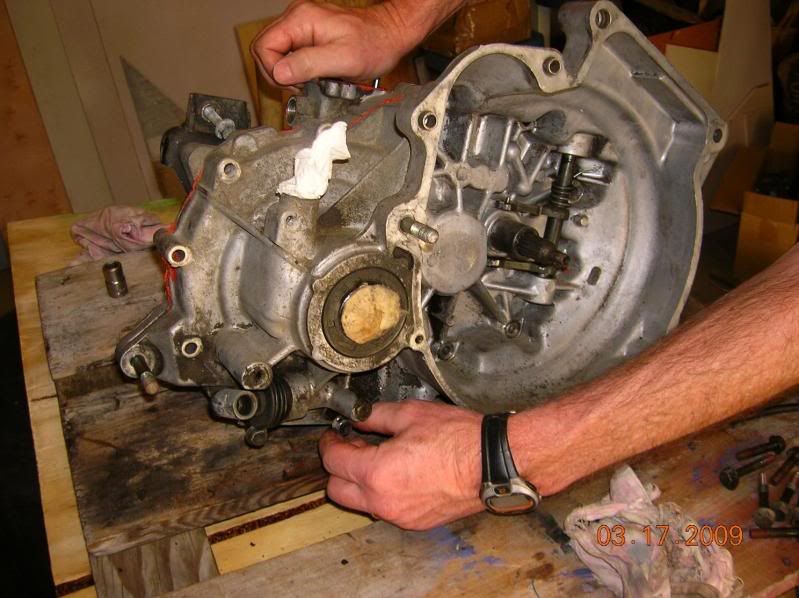
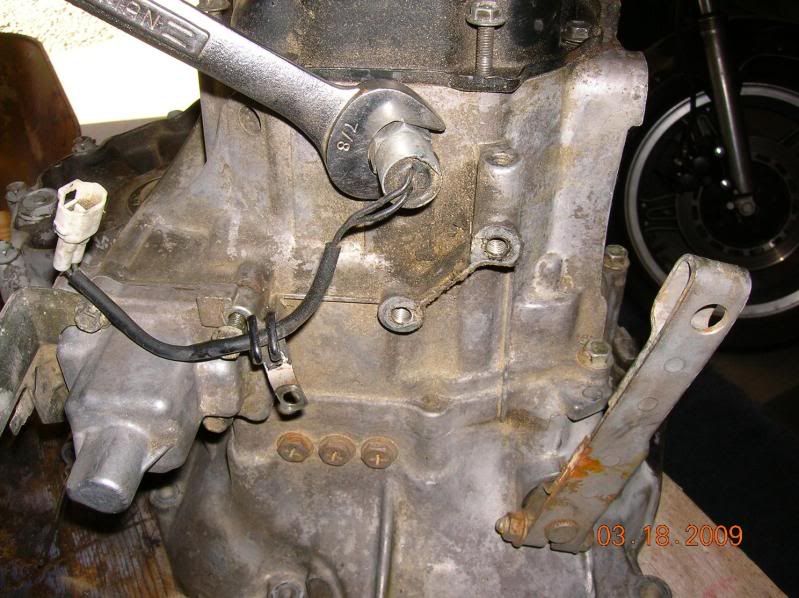
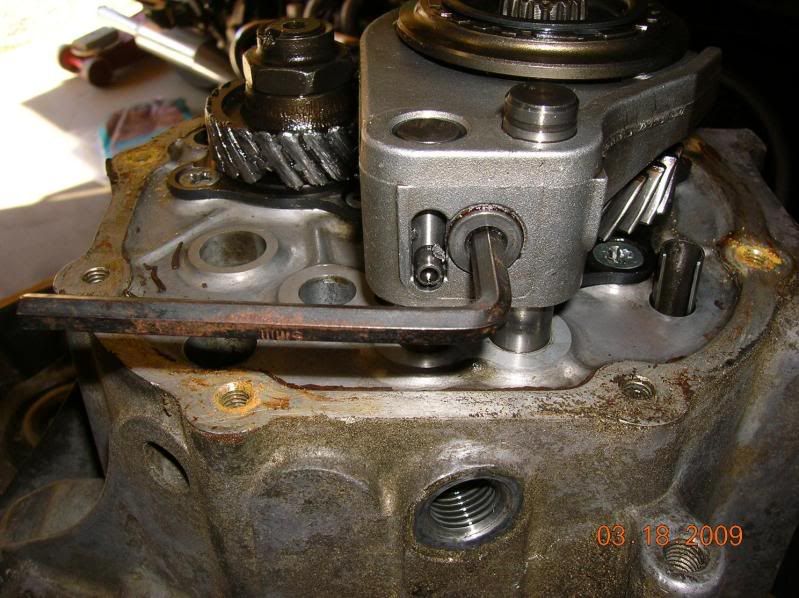
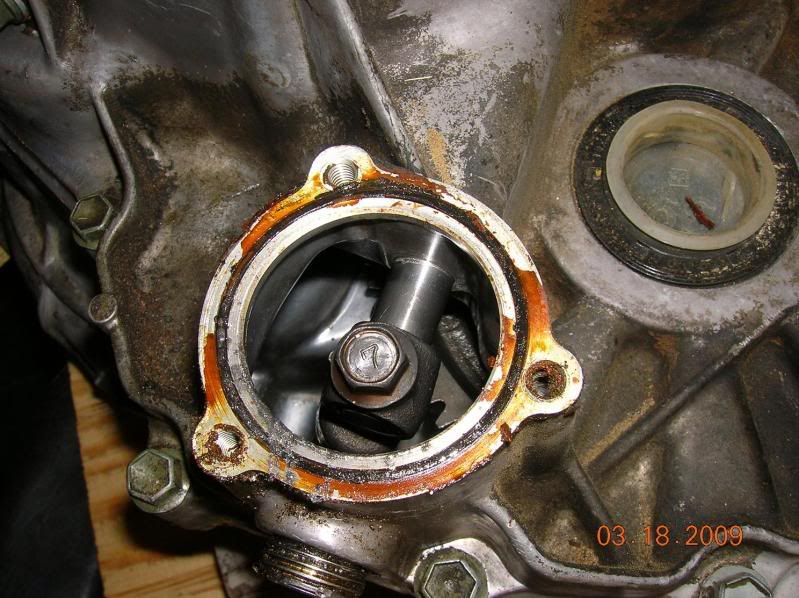
A tip that helps is to make sure the shaft is fully inserted in the
hole, Phil's pic shows a bar holding it in place. Since it's under
spring pressure, you need that shaft or say a block of wood
to push it back and hold it so that it doesn't stick out and
reduces flexing when you start hammering on the punch.
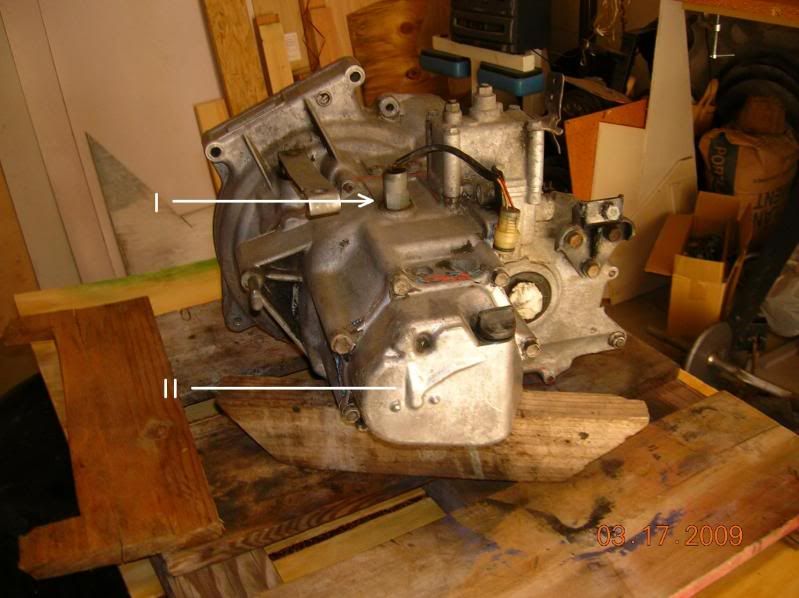
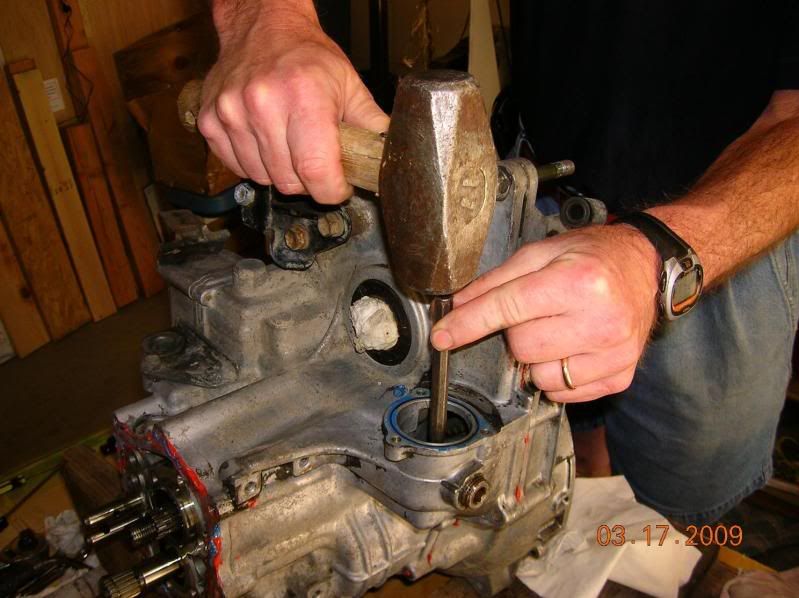
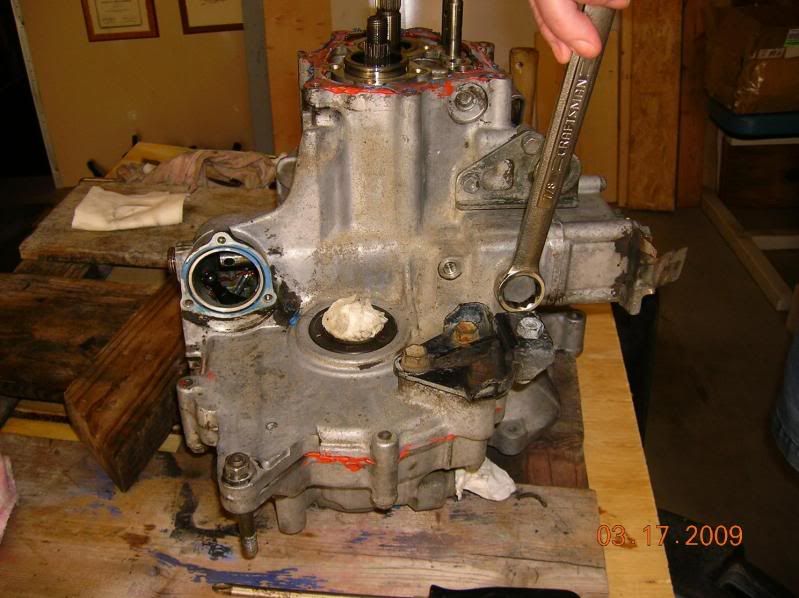
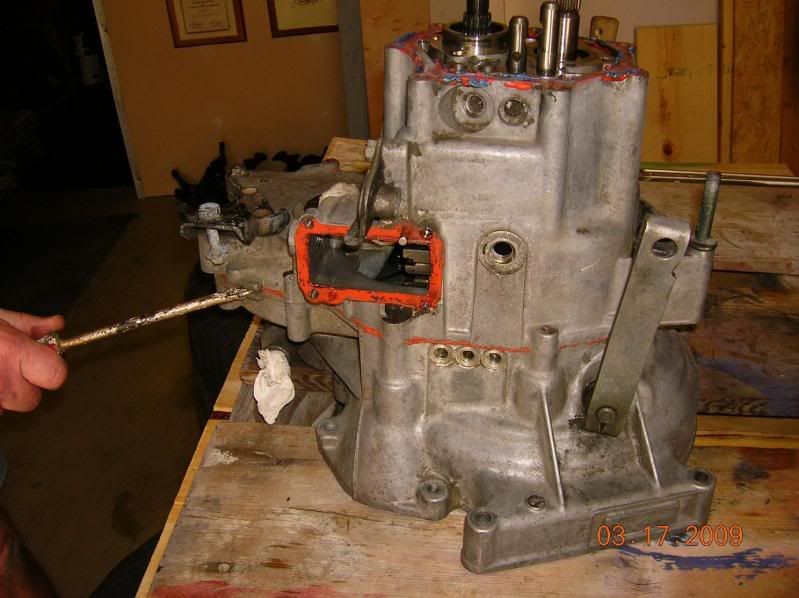
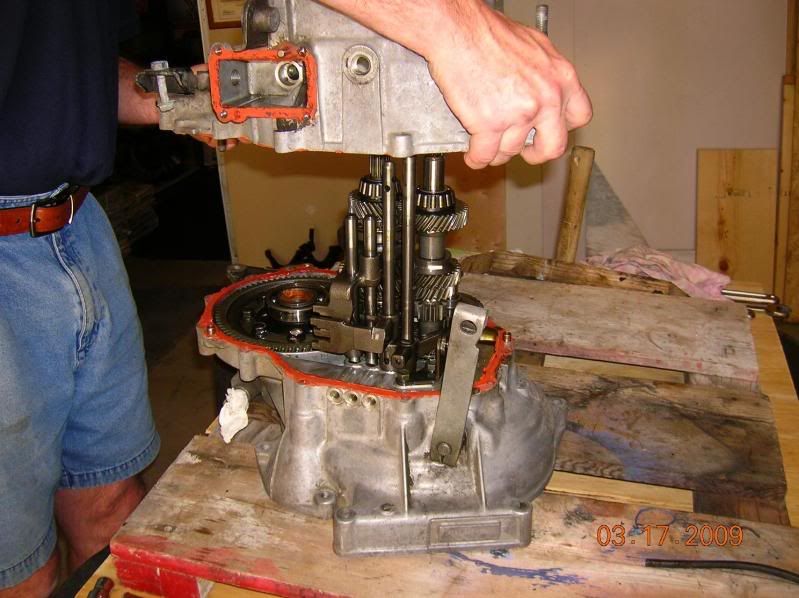
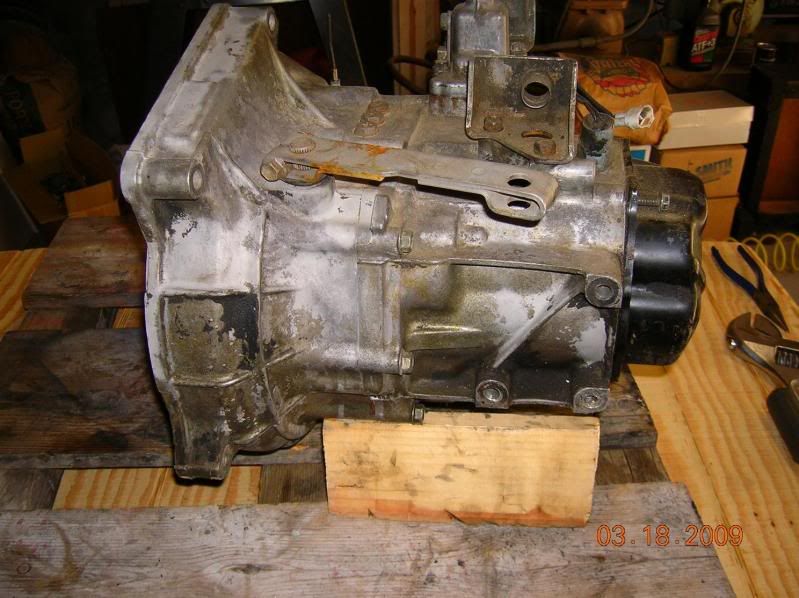
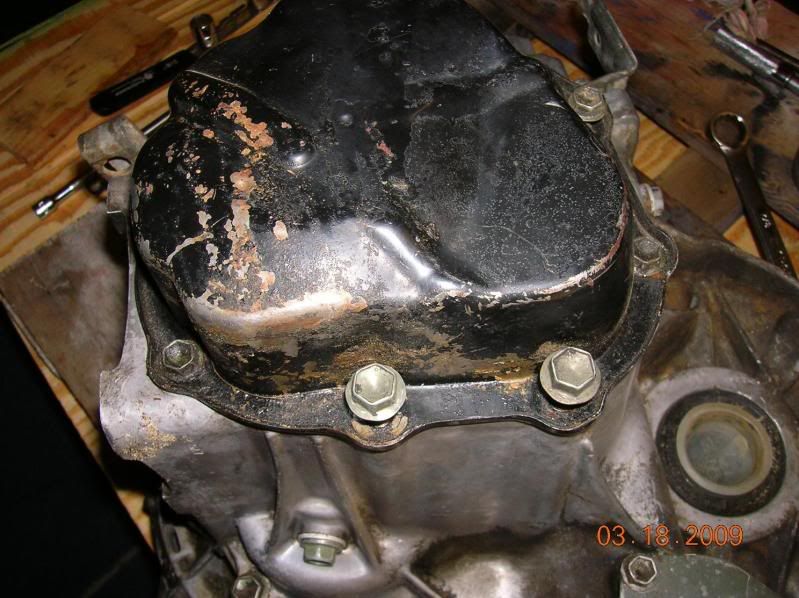
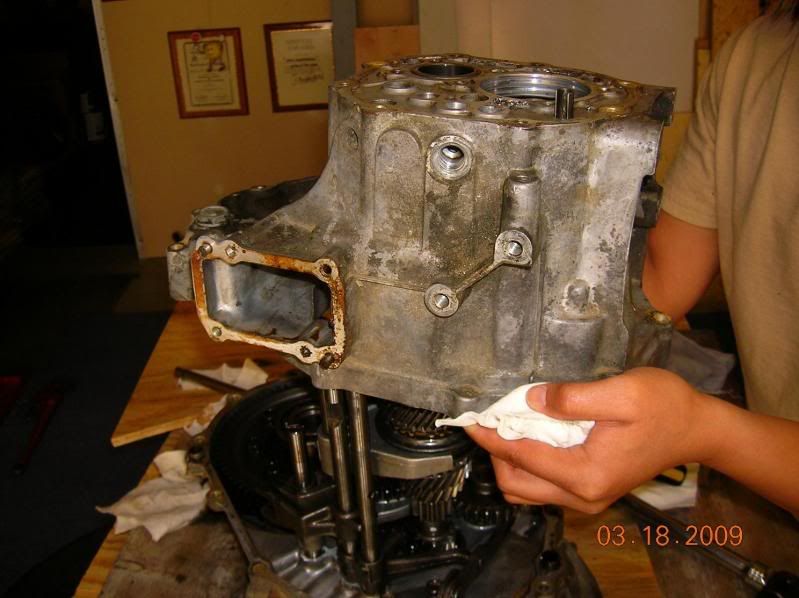
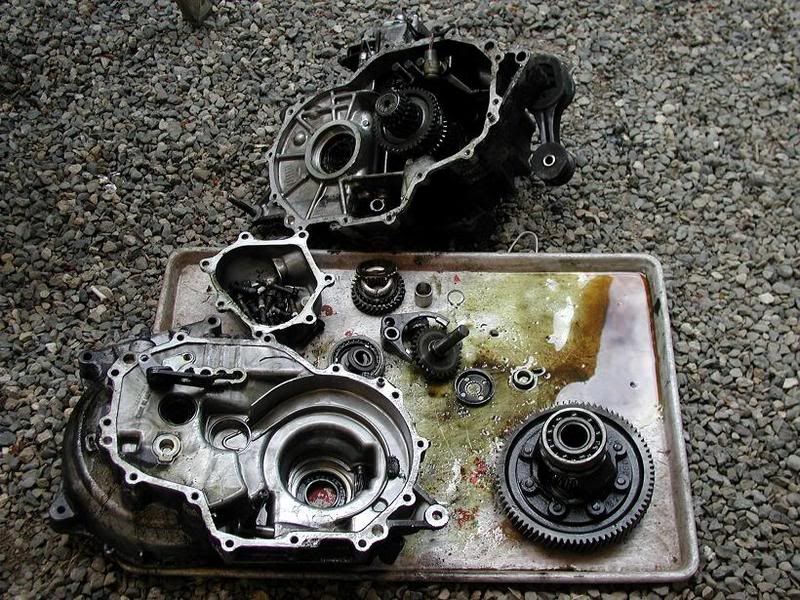
Phil's pic guide was a great help in splitting the case.
Also reading the FSM tranny section several times and
having it for reference.
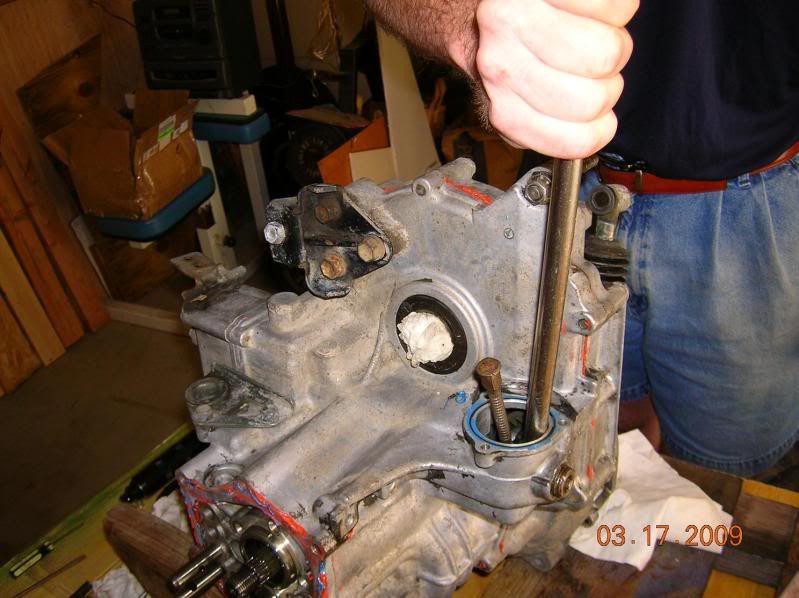
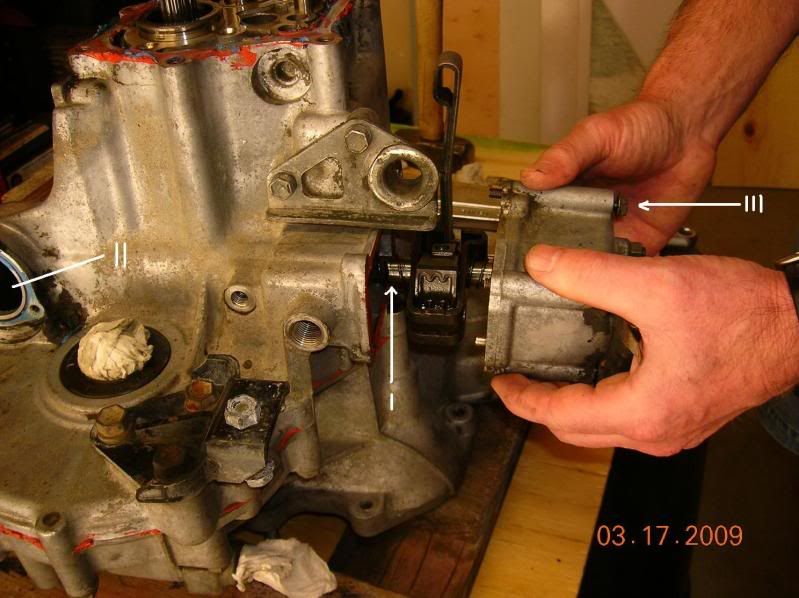
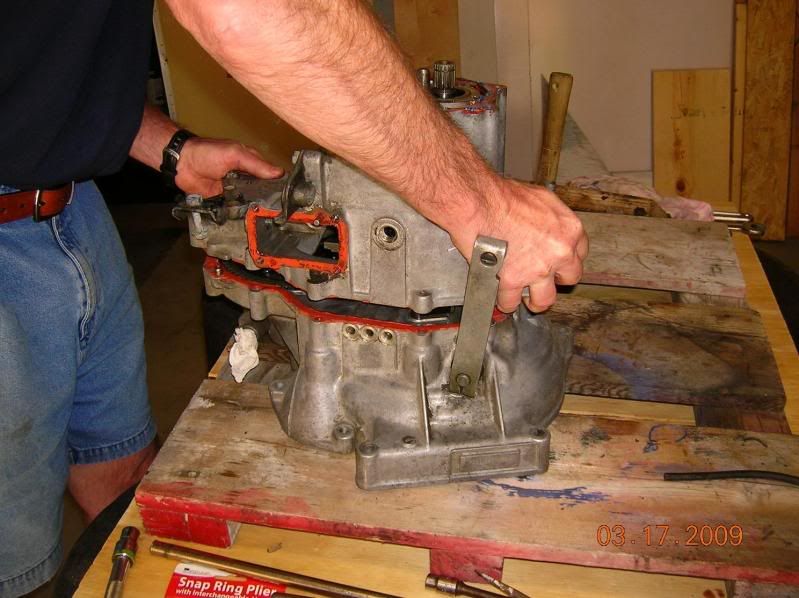
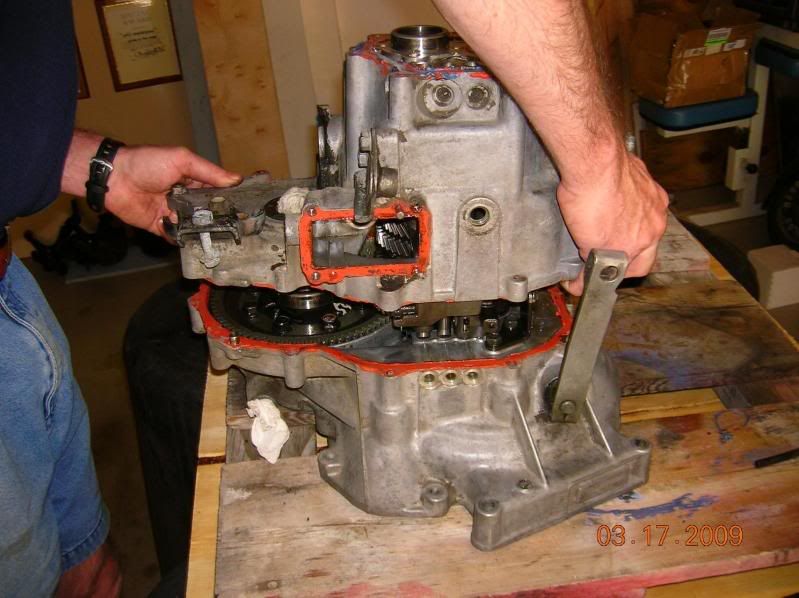
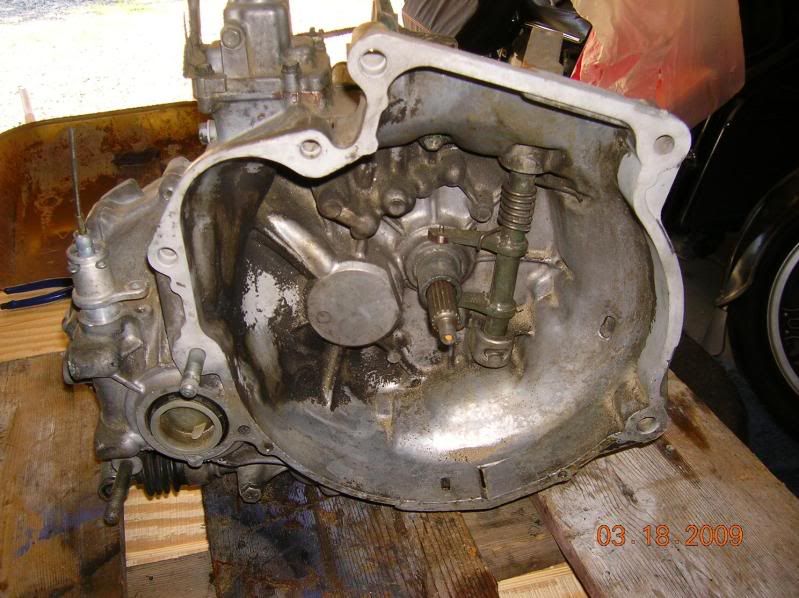
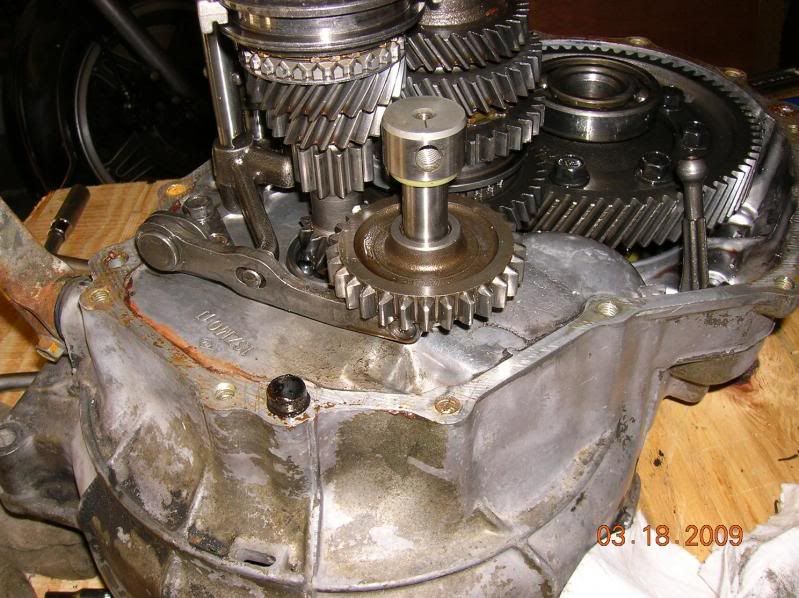
As previously noted, do not remove the shift shaft
balls before you split the case or your stuff will
go flying apart. I learned this the hard way and lost
some balls on the 5th/reverse shift shaft fork that
I had trouble finding. After using the FSM it was then
that I found out what that ball was for after I found
it in the pile of parts that fell out when I split the case.
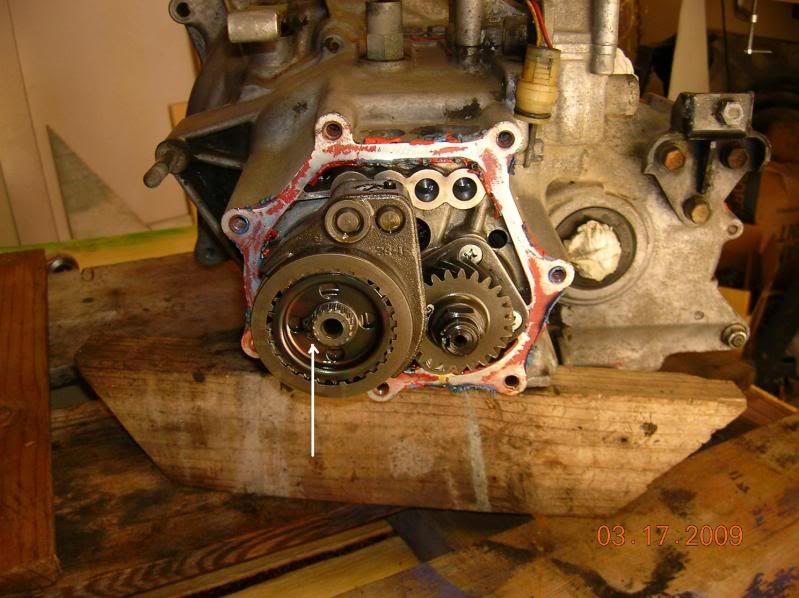
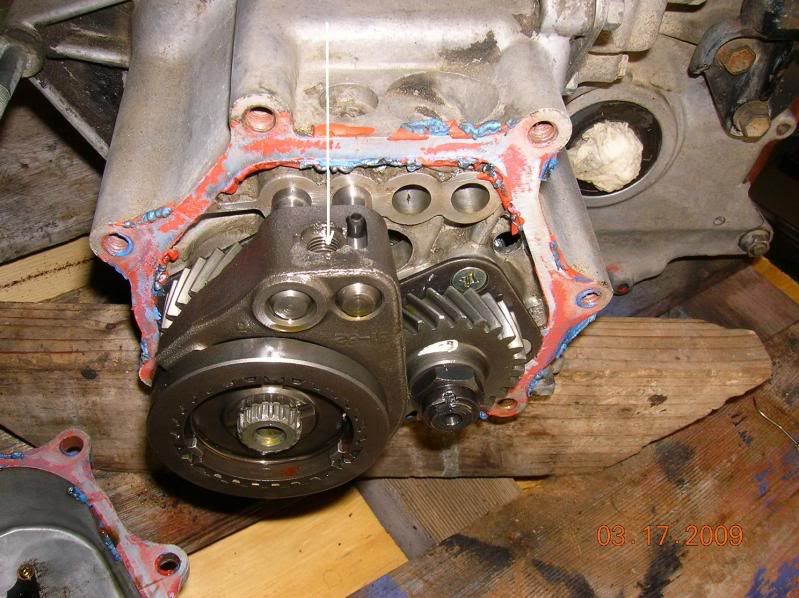
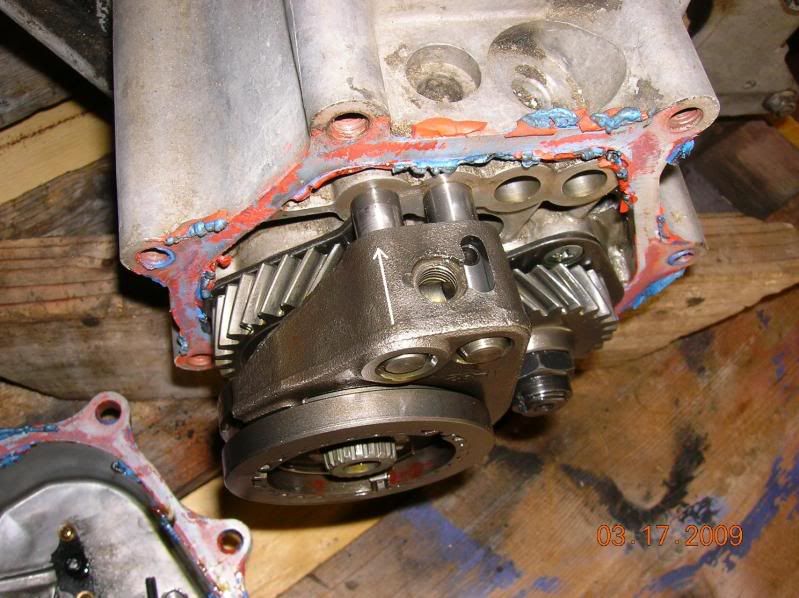
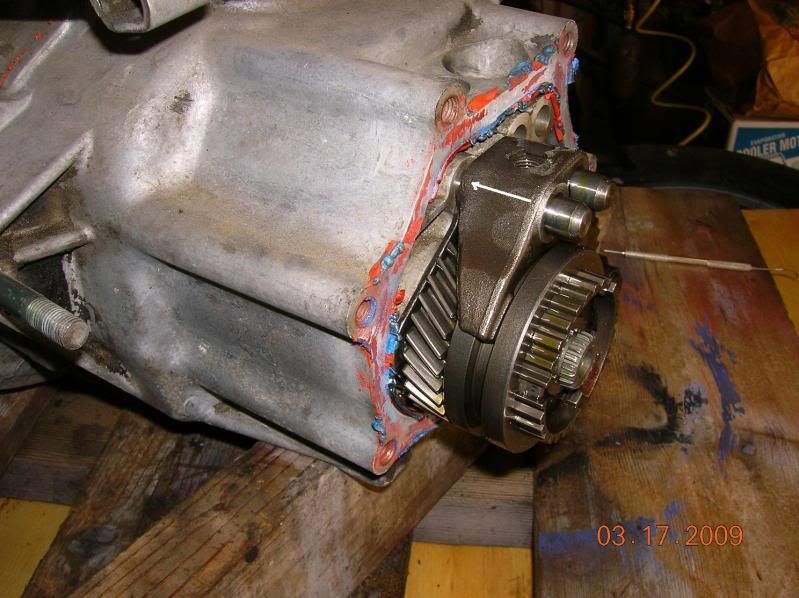
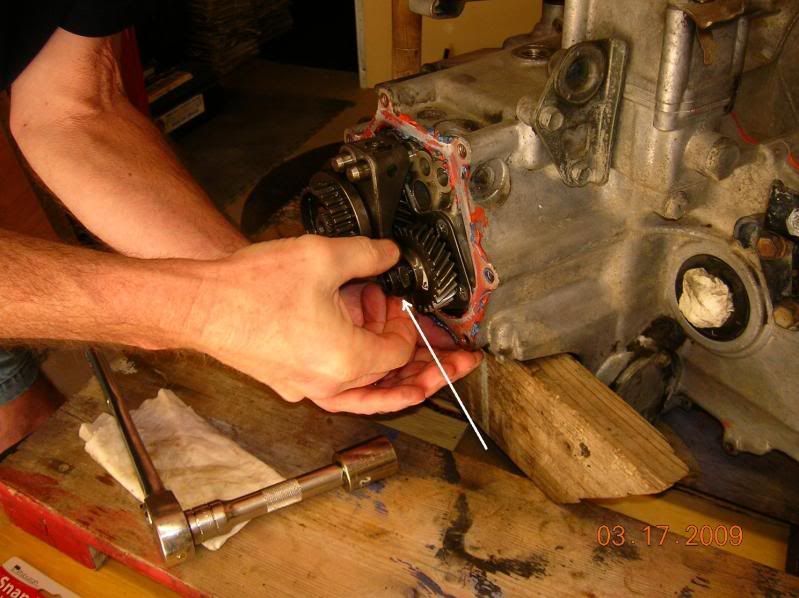
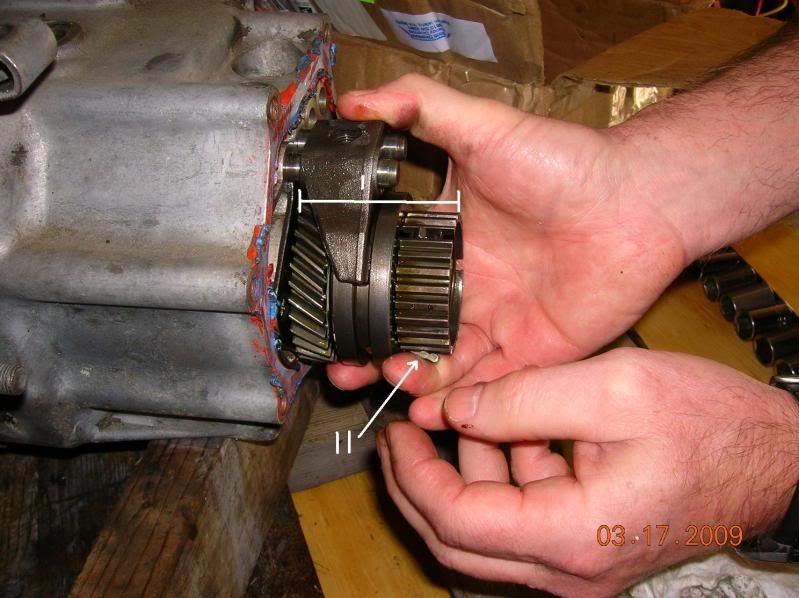
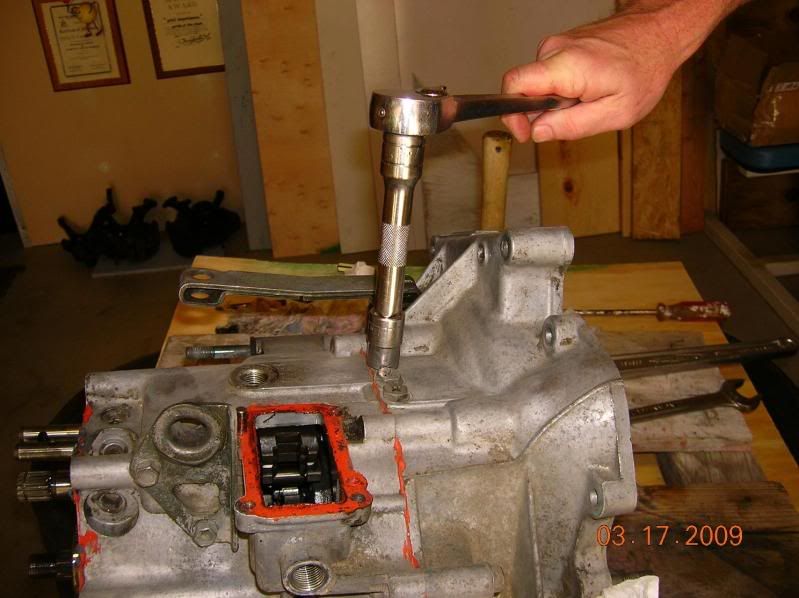
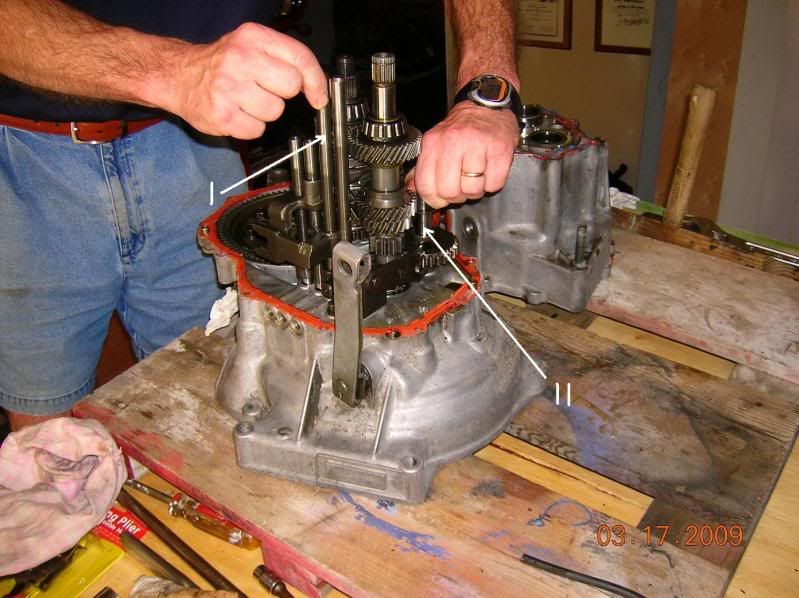
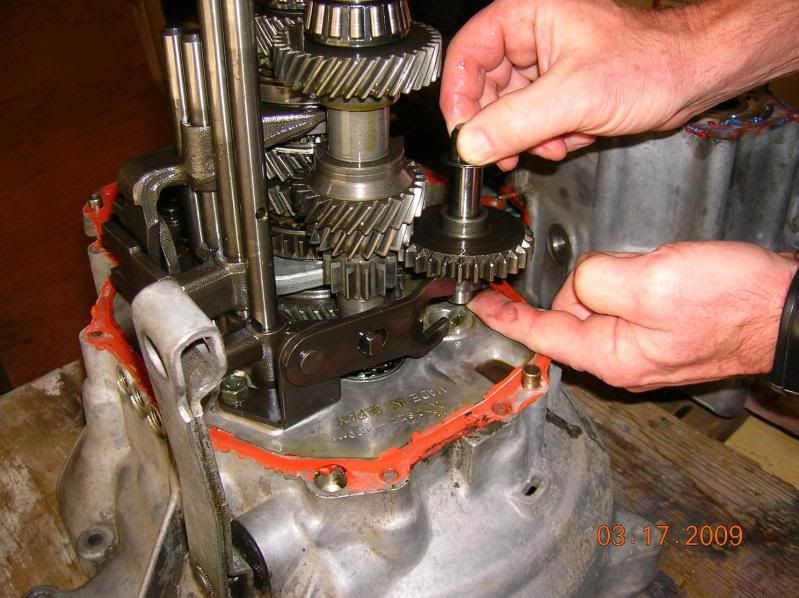
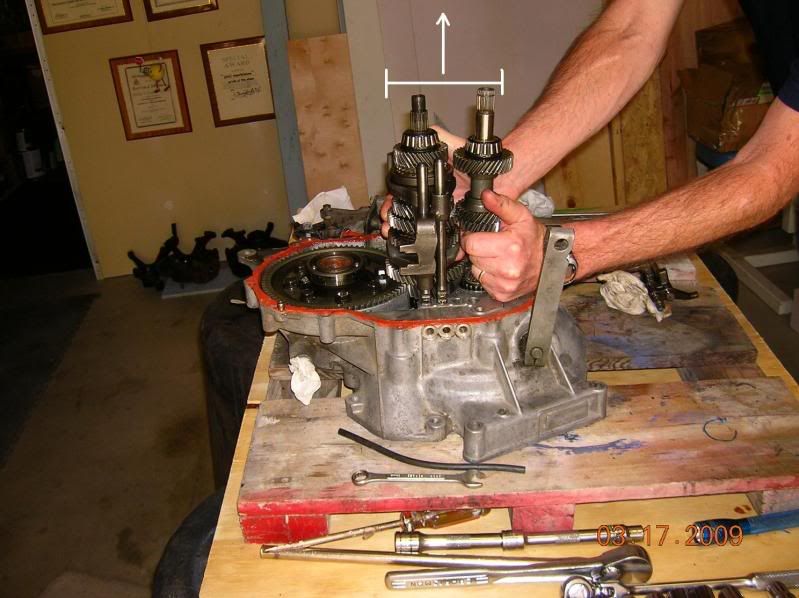
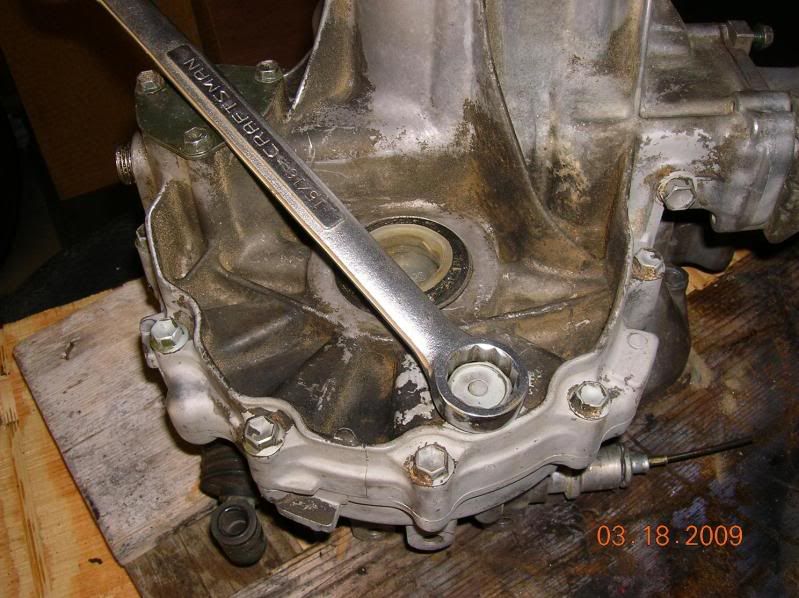
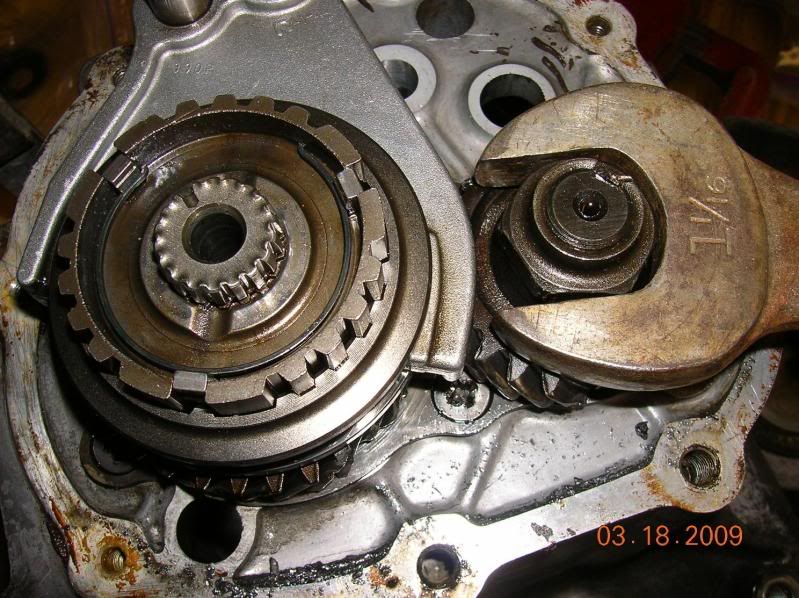
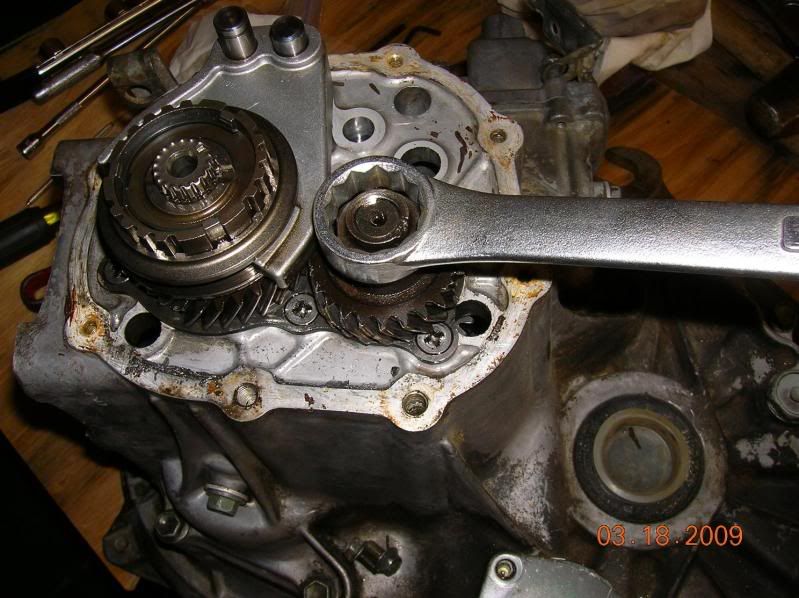
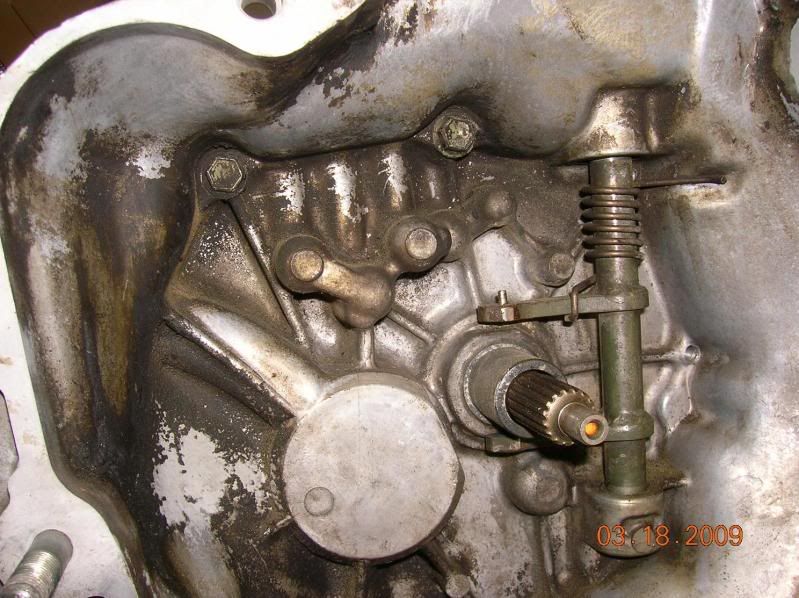
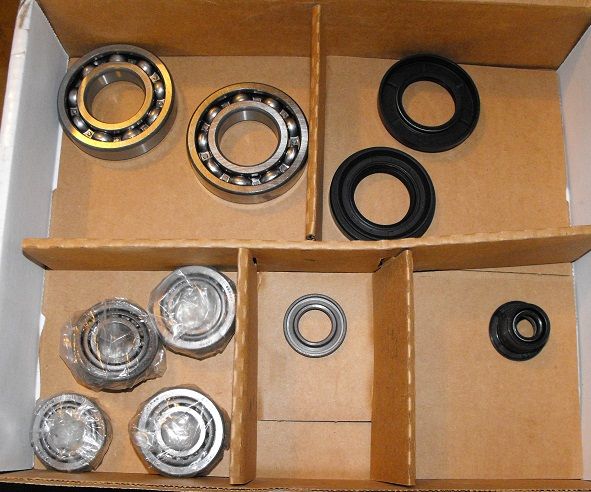
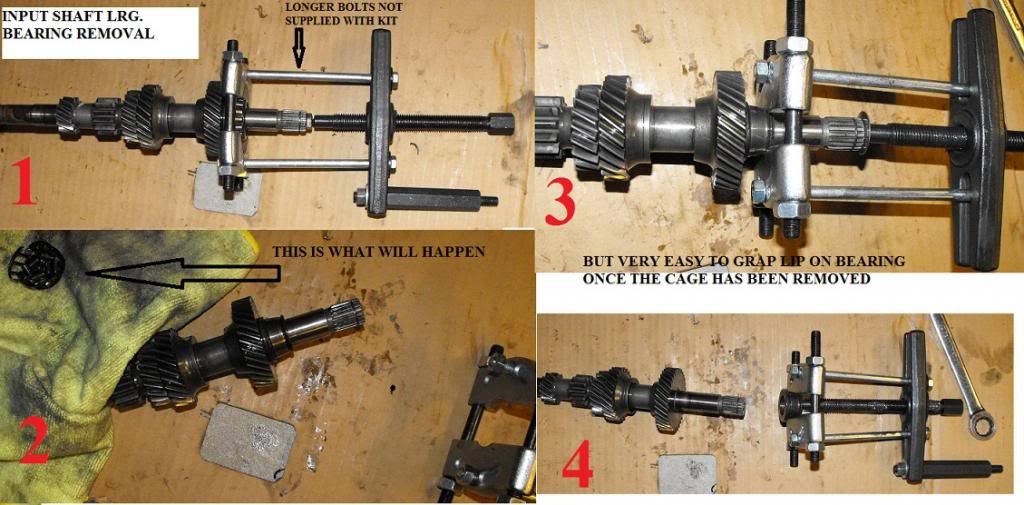
Here's some tips on replacing the bearings and also some
notes on orientation of the gears. One shaft comes apart
with the gears and synchros, the other shaft is basically
one piece and not serviceable if damaged other than
replacing the bearings. But the shaft that comes apart
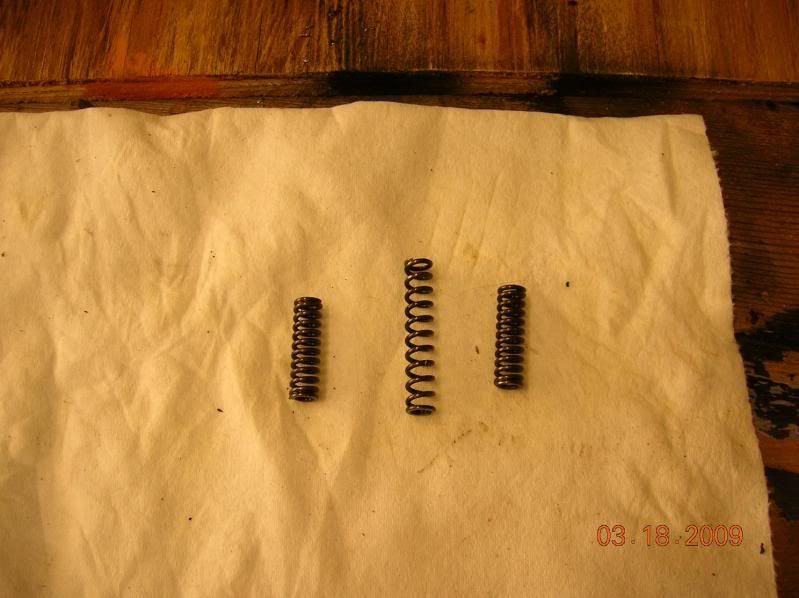
is under spring tension, so if you remove the bearing
you need to hold all the gears/synchros in place or you
will lose the orientation and it will take you some figuring
and the diagram in the FSM to correctly line everything up,
particularly the oil holes. That's all covered in my write
up here:
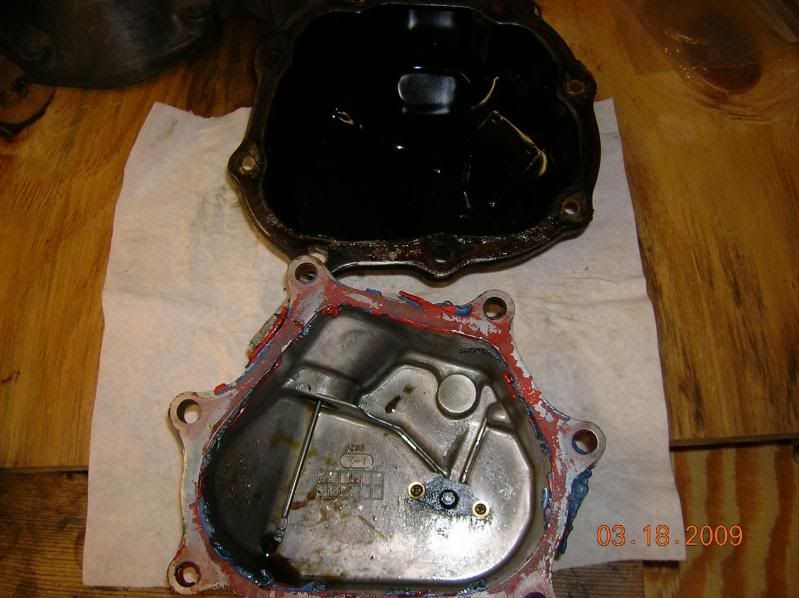
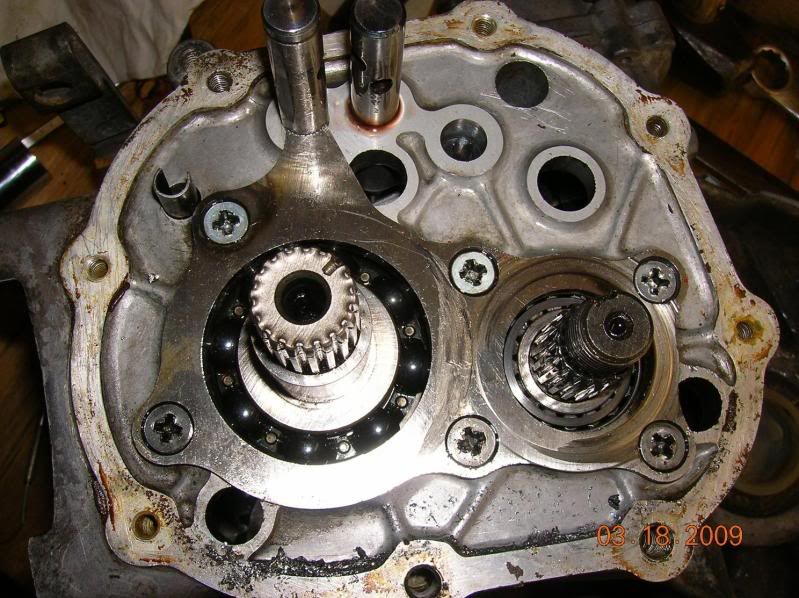
http://www.teamswift.net/viewtopic.php?f=32&t=47916&start=125Another tip that will help is to mark the bearing shims for reassembly.
Since the one end of the shaft bearings have floating races, it is
the shims that provide the proper preload on the bearings.
There is 1 for each shaft and you need to mark them on the end
of the case so you know which one goes where. I used a marker/
paint pen with a simple two lines on one shim overlapping on the case
end and one line on the other shim overlapping on the case.
When I put the case back together, I just lined up the marks
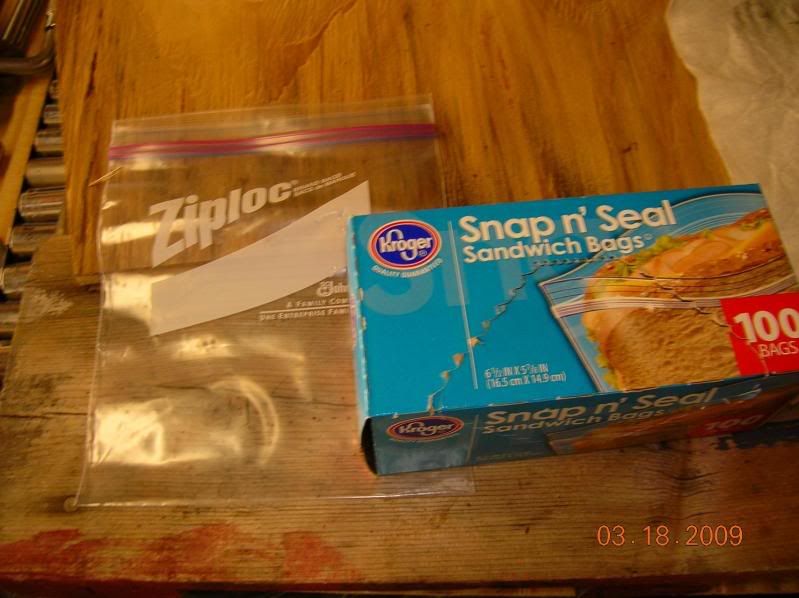
on the shims. Of course you will want to remove and bag
the shims so you don't lose them, your ID marks will make
it a no brainer when you finally re assemble. If you're lucky,
the shims will match up, if you have any variation (after replacing
the shaft bearings) it is possible you may have to get different
shims.