This is a long thread which covers most of the "How-To's" of the Hitachi.
A small post has been added at the end on accelerator pump repair, but the thread is by no means a complete repair guide, and is not a 'step-by-step' process.
Fixing these carburetors is one of my hobbies,
viewtopic.php?f=15&t=38699and I've yet to find one I couldn't fix.
These cars will give you dollars for every cent you spend on them; show some appreciation to the people who saved you ($450 as of the editing of this post) for a rebuilt carb. Asking for help with a Hitachi carb on this forum and then buying carb parts and kits from vendors who are not members doesn't necessarily make you a 'cheap bastard', a 'slick prick', or an 'ungrateful slob', but it does call into question your integrity. Let me put it another way...
don't ask for advice, go elsewhere for parts, and then thank us... Bite the bullet, man up, and kick in the extra bucks for the parts your helpers/fellow board members sell. Then get your money back in years of driving pleasure.
Show your
fellow forum members and the car some respect, and we'll get along fine.
Have a nice read:
Here's a way to avoid having to pull the carb apart once you've put it all back together...and then you find the float level is off. This technique is necessary because modern carb repair kits often have NON-OEM parts which different needle valves and seats, making the 'measuring stick method' obsolete.
First, you have to know when the float level is right.
On the right side of the car, you can look and see a sight glass. It's #22 in the drawing below. There should be a line about half way where the gas level remains, even when the car is idling. If the car doesn't run right, and there's no line in the sight glass, then you will have to adjust the float.
If you look and can't see the level, maybe the float is stuck open, and this will flood the engine. If the float is stuck closed, again, you won't see the fuel level in the sight glass. Of course, the engine won't start.
This is an easy way to find out if the fuel pump is not working, or the fuel filters are clogged, or you are simply out of gas. And it is the FIRST thing you should check. If you can't answer this question, you need to stop and ask yourself if you are serious about fixing the car.
Let's suppose you decide to pull the carb and fix the float level. You can use this diagram to pull the carb off the car and take it apart:

...but how about putting it back together
right the first time?
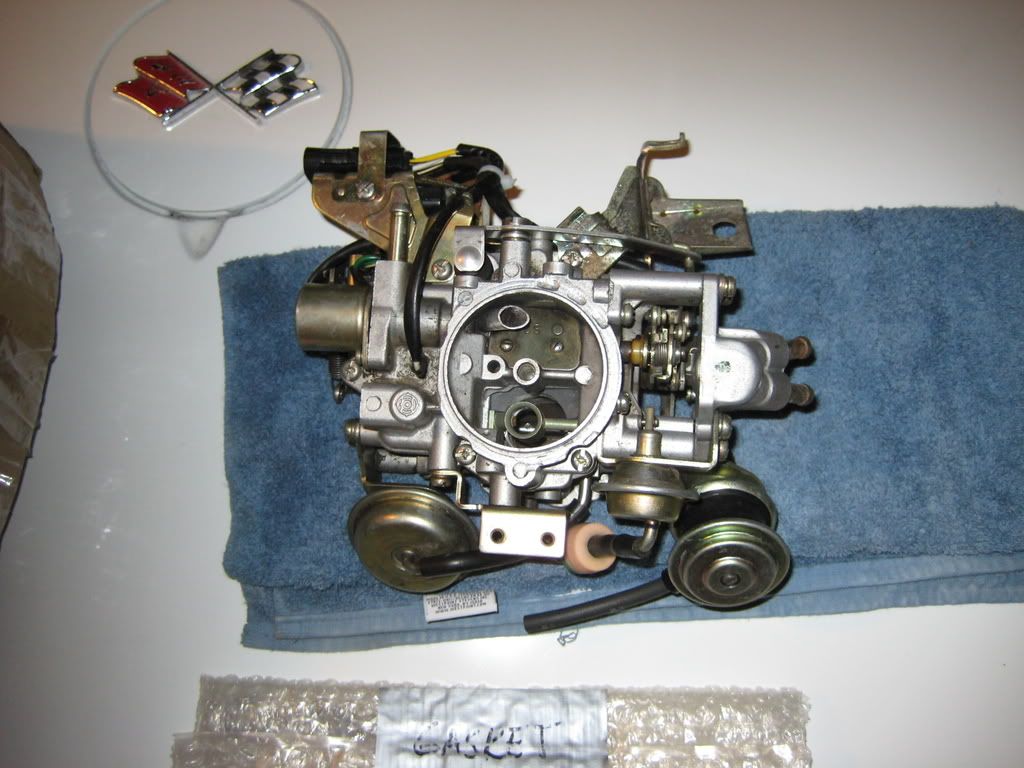
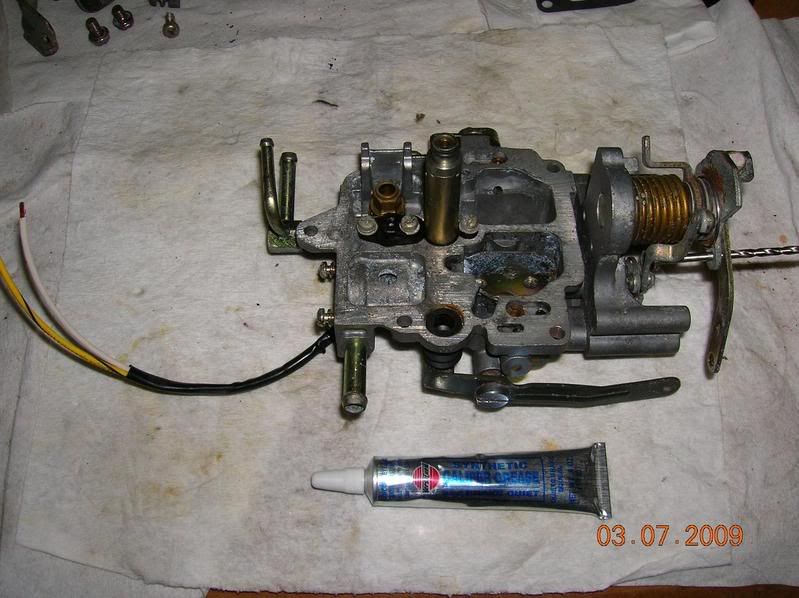
Let's say you get it to this point:
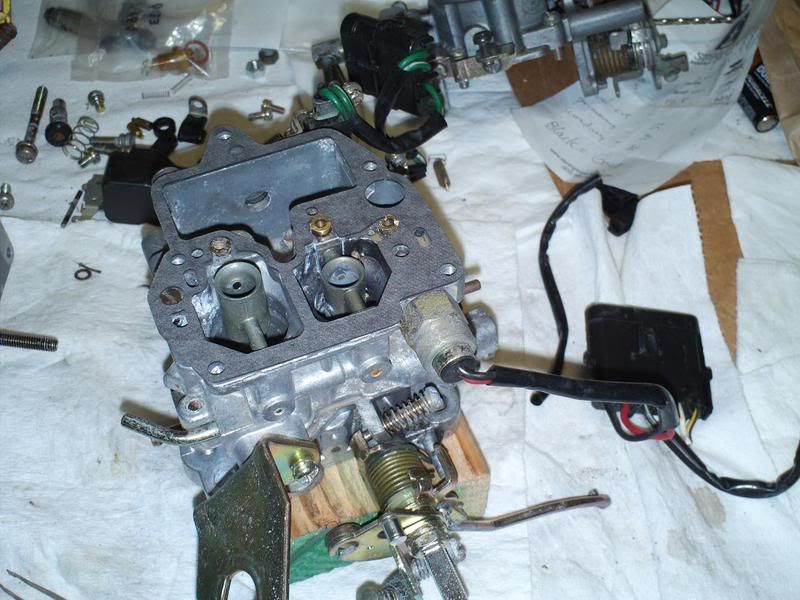
Here, you've cleaned the body and base and are starting to put it back together.
The 'Fuel Cut Solenoid' is screwed into place, and there's a new gasket on the body.
Next, before you install a new Mixture Control Solenoid, you need to set the float level.
Get your seat and screen (sorry for the blurry picture) and the little gasket that should come with most rebuild kits, and put them into the cover:

Now you get your needle valve and clip
(next three images are a bit blurry, but you can get the idea):
First, the clip is put on the needle valve, and then the valve clips on to the float:

Now, the whole thing gets put on the cover, upside down:

All you have to do is put the cover on the body of the carb. Don't install the acclerator pump or Mixture Control Solenoid just yet.
Next, you take it outside, and plug one of the fuel inlets, and run gasoline into the other
(notice the bowl vent solenoid isn't even hooked up yet):
Here is a little plastic container which comes with most vacuum pump sets. It's got a fuel line running to the carb inlet. Simply lift the container up, and tilt it. Watch the site glass. Once the level settles out, you can even apply a little pressure to the other side of the container to simulate a fuel pump.
Now you can easily go back and forth, bending the tang on the float if necessary to get the correct level in your glass.
Once you're done, just take the top back off, and remove the gasket. Then you can pour the gas back into the container. Now you can continue by removing the float and valve carefully, and setting them aside.
Then put the Mixture Control Solenoid into place:
using a tiny bit of silicone-based lubricant.
Don't forget to put a little bit on the other O-ring before you put the top back on.
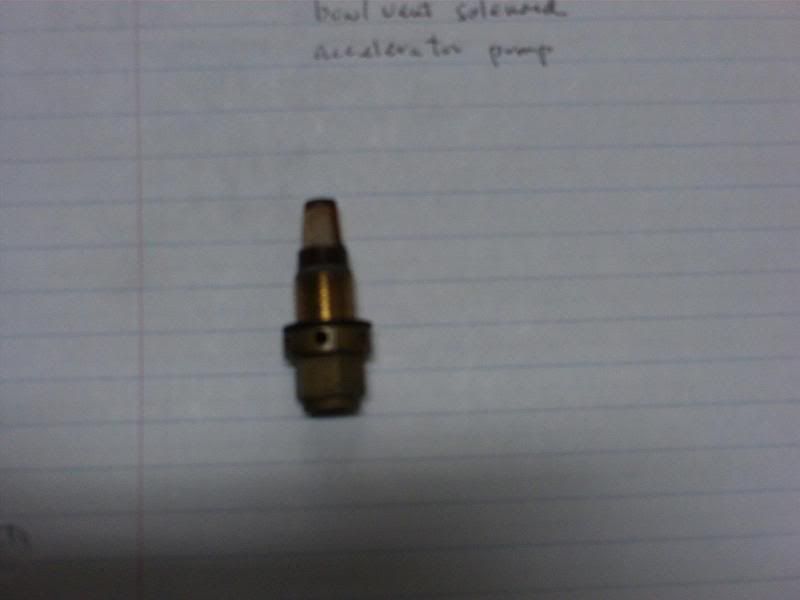
If you've removed the Bowl Vent Solenoid, there are two O-rings which can be easily replaced. Here, it's been installed:

Now would be a good time to check that Bowl Vent Solenoid. It may click when you hit it with 12 volts, but is the plunger retracting? If the carb has been sitting for awhile, the plunger can get stuck on the vent seat.
Gently free it with a screwdriver, and you should be good to go.
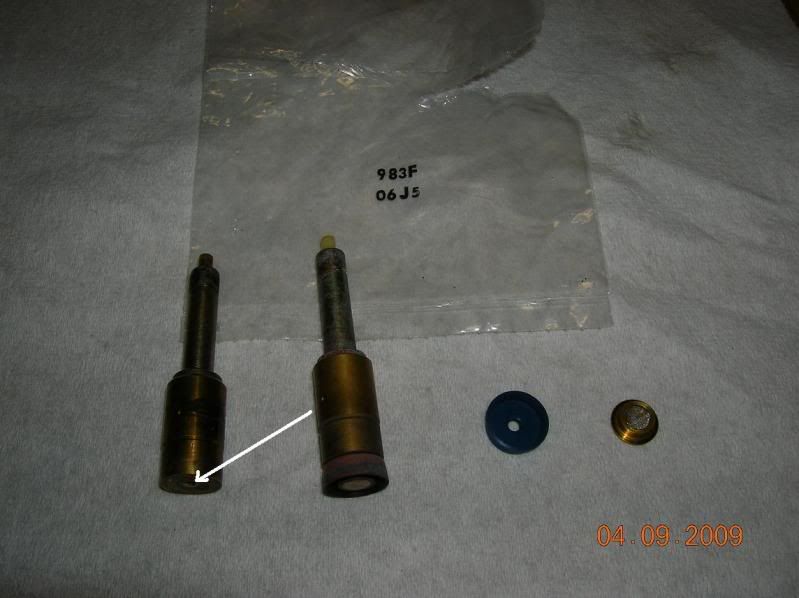
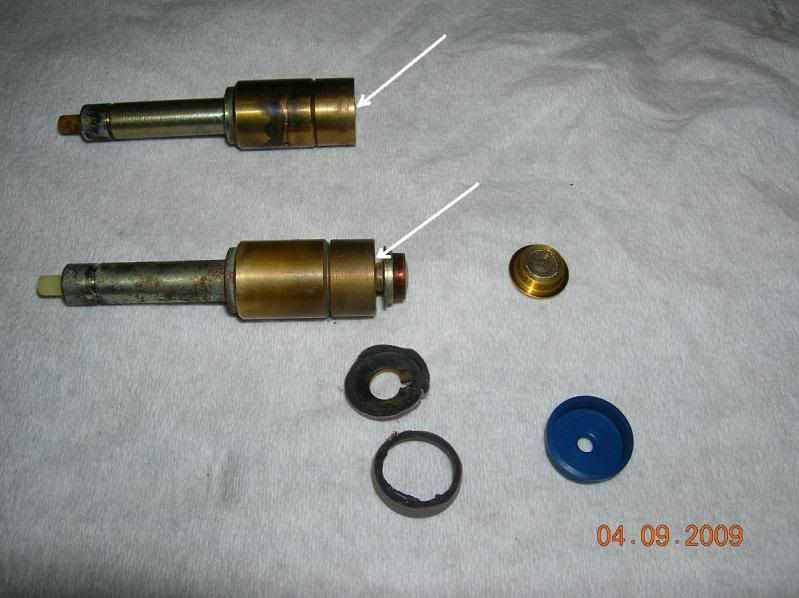
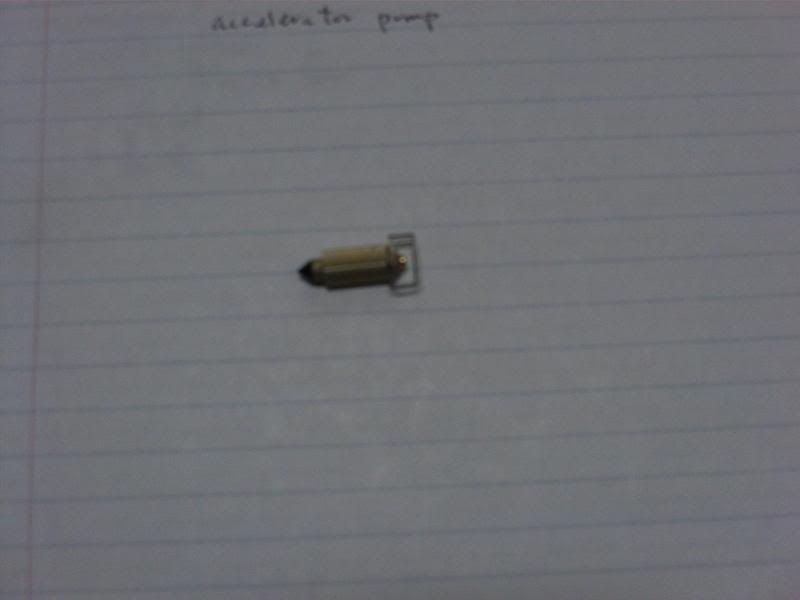
Now you can put your float back in place carefully, and install a rebuilt accelerator pump:
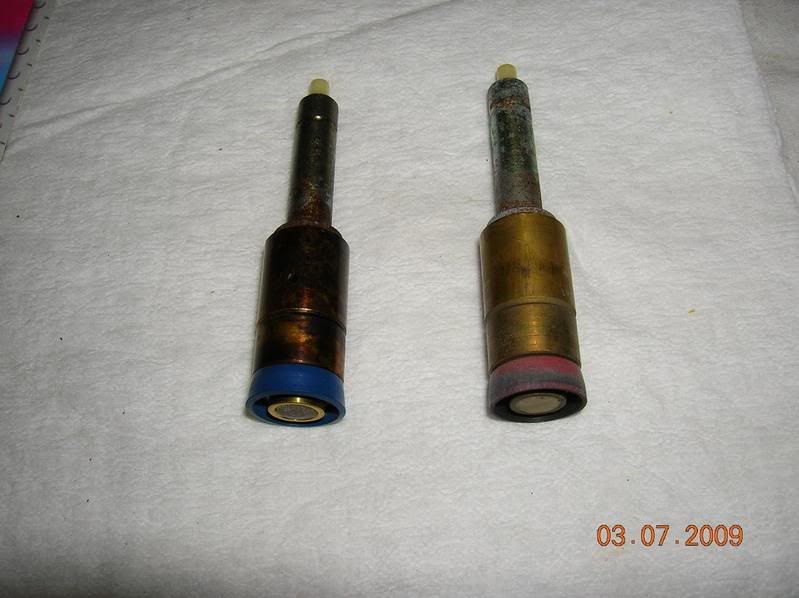
The pump on the left has been rebuilt.
Maybe someone could make a DIY Accelerator Pump Rebuild thread for posterity?
Make sure parts 49 thru 53 in the diagram above are in place. Then proceed like this:
Once your float is back in place, carefully put the top on the carb. You should end up with something that looks like this:

Hopefully, this will save some of you a lot of headaches realizing (too late) that your float adjustments are off. Check those sight glasses, especially if you haven't in a while and she isn't running like she used to!!!
Too many people have given up on these cars because there was no DIY Carb Rebuild/Reassembly thread.
These carbs are easy, if you read through the above, and take it one step at a time.
(Title edited to reflect addition of the posts by mkc1962 covering 'cleaning and rebuilding the body'.)