I posted this on
GeoMetroForum, but I figure a lot of newbies may need the help here also. Most of the time one of these Suzuki engines need a rebuild, it is due to burnt exhaust valves in the cylinder head, but whenever the engine is getting high on mileage, the piston rings could also be worn and this will call for a bottom end rebuild. If you already have the head off, rebuilding the bottom end is only a few hours of extra work and minimal parts are needed unless you find a cracked or broken piston or worn bearings. If you need info on rebuilding the cylinder head, you can read
THIS GUIDE to help you out and then check out the more detailed info on head rebuilding
HERE.
Parts needed for a bottom end rebuild usually consist of getting new piston rings and maybe some connecting rod bearings.
First thing to know is that the engine does not need to be removed for this job, but this one is already out and will make the guide easier for you to understand.
Remove the oil pan from the engine.............

Remove the oil pickup tube..............

Rotate the crank and start with one side and remove the 2 connecting rod cap nuts.........

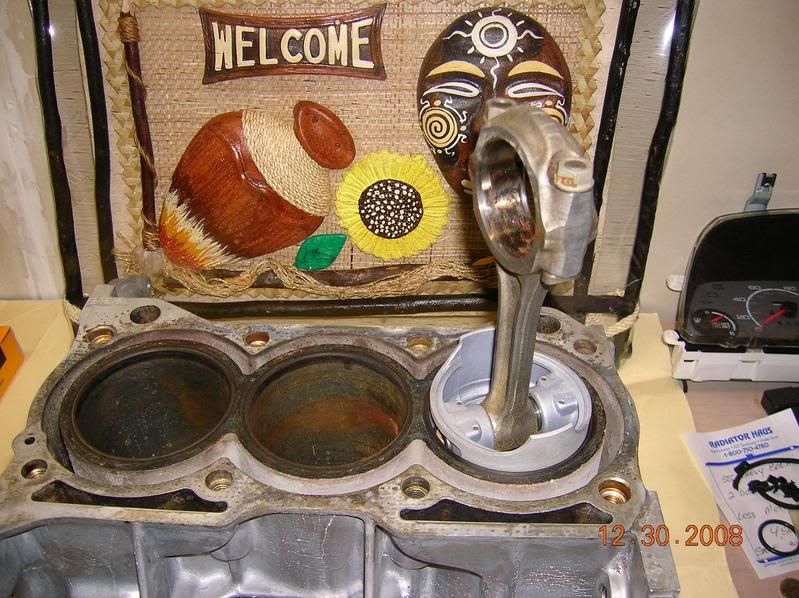
Use a piece of wood and push the piston out the top taking note of the bearings.......


Be sure to keep all the parts in order of removal..........

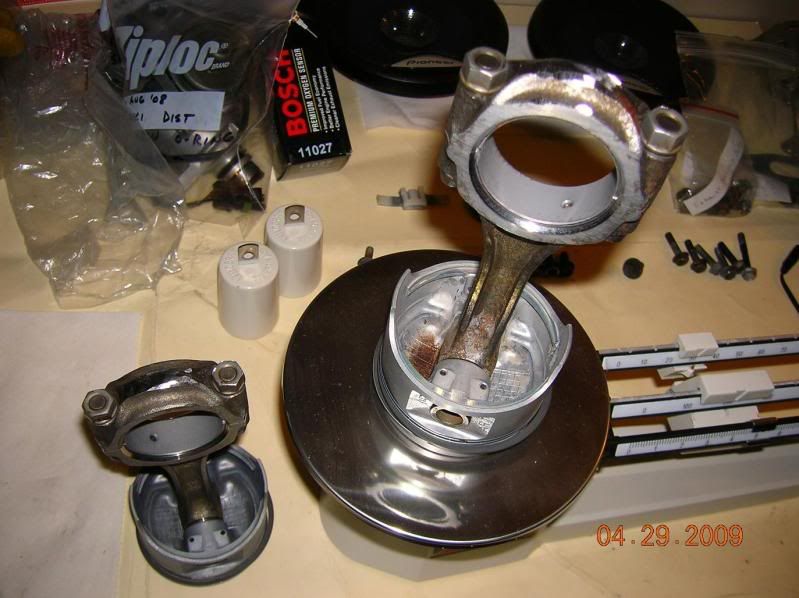
Inspect the connecting rod bearings for wear. If you notice, these bearings are 2 kinds of metal and the silver layer should not be worn to the other layer. If in doubt, get new ones.........

Now on to the pistons. You can remove the rings quite easily by finding the gap on the top ring, and pull it up and then you can "roll" the ring right out of the groove quite easily. Place in order of removal to reference them later. Repeat with the other rings. If you have an XFi engine, you will only have 2 ring grooves instead of 3 like a typical G10. Once the rings are out, carefully inspect the piston sides (skirt) for any signs of cracks.
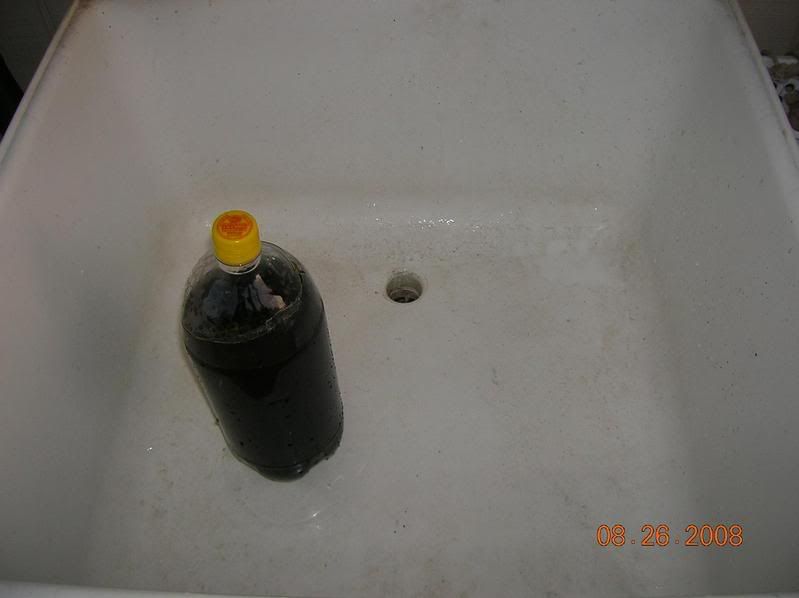
It's good to soak the pistons in solvent. You can use Kerosene for this and it works well. I cut 3 empty one gallon jugs and filled them with solvent and soaked the pistons overnight to help loosen the carbon deposits..................

I then used a wire wheel to clean the piston tops and the thin part of the sides just above the top ring groove. I don't suggest using a wire wheel or other powered tool on the piston skirts. These should clean up well with solvent.............

Now comes the time consuming part. You need to clean the carbon from those ring grooves. You can use toothpicks, small screwdrivers, scribe and pick assortments, paper clips, or even better, break or cut one of the old piston rings and use it to clean them grooves out from all the carbon. Careful not to "gouge" the piston, you are simply removing carbon deposits and after a soaking, the carbon is easily removed.............

Now on to the block. Clean up what you can and get the block deck clean from all the old head gasket material. I use a mild roloc disc on an air tool, but you can also do it the hard way with a razor blade and some emery cloth. Now is a good time to inspect the crankshaft bearings. I simply pulled one main cap off and inspected the bearing like the connecting rod bearings. No problem there, so I am leaving the crank in. If your engine had any knocking noises it's a good idea to look if the pistons and rod bearings were good. If you wish to do main rod bearings, now is the time. To hone the cylinders, you will need a 3" ball hone also known as a berry hone. It looks like a cluster of berries...............

Use some paper towels and wrap the crankshaft journals with paper towel and then some electrical or masking tape. This will keep the particles out of the oil galleries. Spray the cylinder walls down with parts cleaner and make sure they are clean. You don't want dirt in the sleeves. Now liberally coat the walls with either motor oil or do like I did and spray the cylinders with WD40, Blaster, or other oil. Some people may dispute this and suggest honing oil, but to each his own. Rotate the crank so it is at it's lowest point. Insert the honing tool with a clockwise twisting motion until fully seated............

Now pull the trigger at full speed and use a smooth up and down motion making sure to go down till you just feel it touch and back up to the top repeating this motion for about 10 to 20 seconds and do not stop in the middle of the cylinder. You must keep the trigger pulled and keep it spinning while you pull it all the way out when you are done so it does not leave scratches. I hope you got them safety glasses on......................

Carefully inspect the walls for a nice even pattern. It don't have to be a perfect cross hatch pattern, but should look uniform..........

Repeat on all 3 cylinders making sure to rotate the crank to the lowest point for each one. Once you are finished, you can do it like the book says and use soapy and water to clean the cylinder walls down :ermm:
Supposedly, this washes out the particles better than anything, but in my experience, this makes everything rust really fast including the crank journals. Also this engine will not be running after it's rebuilt until it's installed later and I don't like the rust idea, so I use parts cleaner and a soft cloth to wipe them out. I wait till dry and repeat a few times to make sure no dirt or stone material is left behind. Spray the crank and wash as much as the grit away as possible then remove the tape and towels from the crank and clean and wipe the journals again.
Now going by the book, you can insert a compression ring, or both into a cylinder and check the gap. I never had a problem with this and the cylinder tolerances allow .004 anyway, so as long as the gap is not as wide as your pinky or it's touching, don't worry about getting too technical and I doubt you will have a problem unless the rings were screwed up when made. Start with the funny looking "squiggly" oil ring and then roll on the 2 skinny oil rings, one on top and one one bottom with the ring gaps not in line. You need to stagger the gaps in different positions. No need to get precise about this. Use your hand and make sure all 3 oil rings in the bottom grove are inserted correctly and not catching. Now roll on the thicker compression ring to the middle groove noting the marks at the end at the gaps. These should face up. The top ring might have a beveled edge. If it does, the bevel faces up also. Be sure to stagger those rings also.
Rotate the crank so the the journal is at it's lowest point. Lubricate the cylinder walls with engine oil. Insert the piston into the according hole with the arrow on top facing the crank pulley or belt side of the engine. Slide a screwdriver through the wrist pin like so to hold it up...........................

Use a ring compressor and tighten it around the piston making sure you got all the rings.......

Use the back of a hammer to gently tap the piston into the cylinder............

You should actually feel it almost pop when it goes in..........

Now having someone slowly push down on the piston while you are down below guiding the rod to the journal helps. Dab a little assembly lube and spread it like butter on the bearings and take note of the oil holes on the bearings and the line up tabs. Make certain the bearings are in their proper place and seated correctly before you torque the connecting rod caps. After you torque it, rotate the crank by hand at least 2 revolutions. It should rotate very smoothly and not bind anywhere. Repeat this on all cylinders. If you want to "go by the book" use a plastigauge to check bearing tolerances. I use them to light my kerosene heater

There is your complete instructions on rebuilding the bottom end. If you are replacing pistons, then you will need access to a press to push out the wrist pins from the connecting rods and precise sized adapters to fit correctly. The connecting rod oil hole should be on the back of the piston with the arrow on the top facing the belt side of the engine.
Hope this help some of you.