No need to worry about your femoral artery being torn out.
It is on the inside aspect of your thigh.
Remember the mnemonic 'VAN'?
If not, there's a vein, then the artery, and finally a nerve.
So use your 'modification' with impunity!

I guess it wouldn't hurt to expand this door regulator thread to include a few parts on the door, so grab a seat and prepare for a LONG read...
Like you, I spent this past week fixing a driver's side door card, regulator and replacing the horizontal slide piece
on the outside of the window. I also adjusted the hinges so the door shut right and fixed the seat belt from hitting the door...but more on that later.
There are a few things I can add.
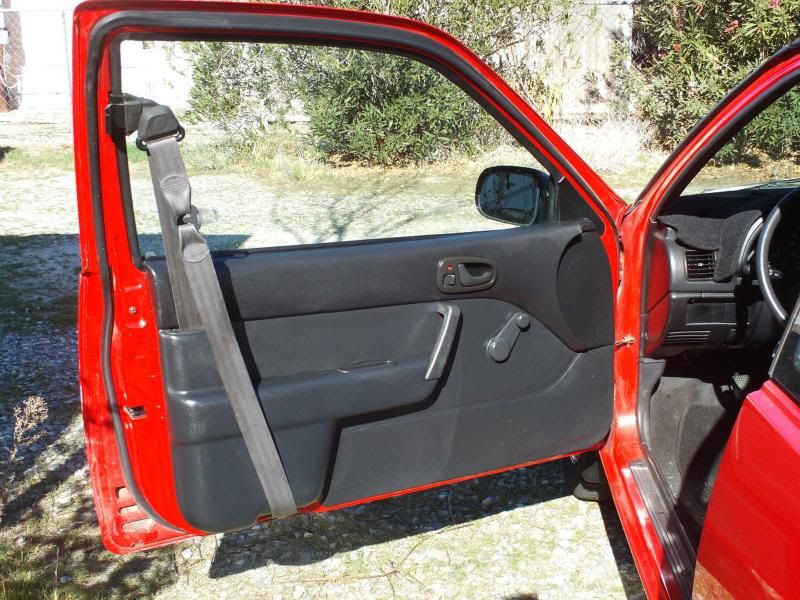
The USA cars having the seat belt in the door ('92-'94) are a little different.
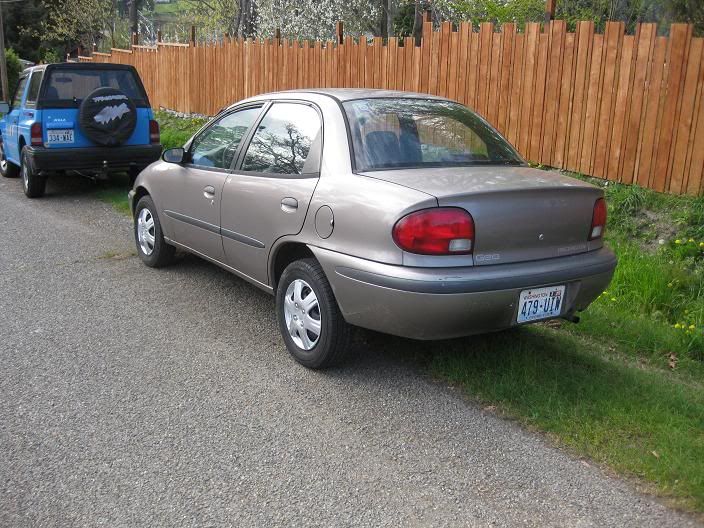
This post shows a '94 Swift.
Be prepared; you have NO idea what you will find when you pop that door card.
Here's what I encountered:

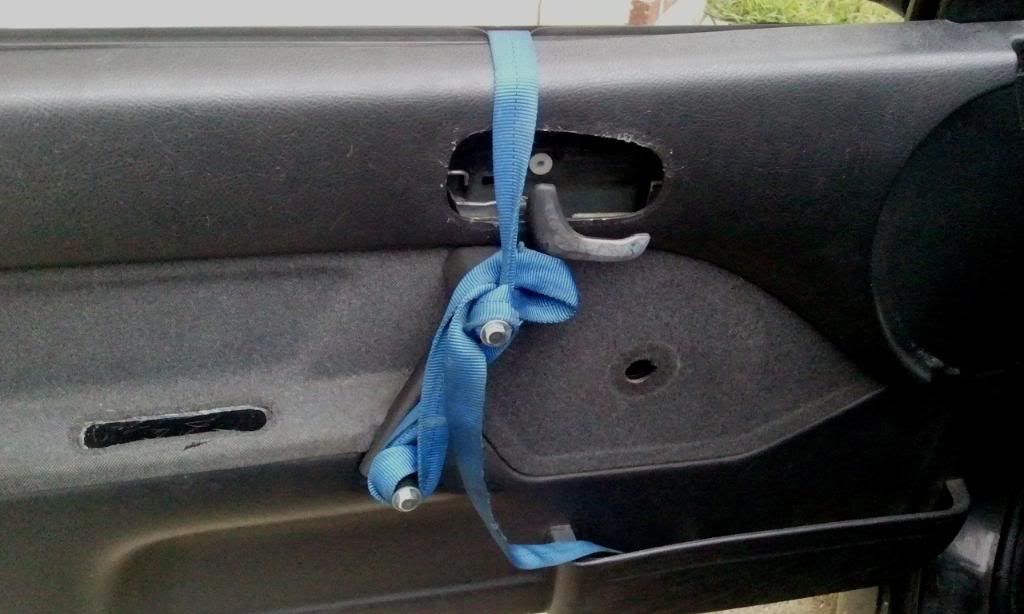
Someone decided to run 3 bolts through the regulator and back them up with nuts on the inside.
Not impossible to remove, but they did bend the bracket a bit.
The point?
You may think that you will fix one thing on the door (be done in 30 minutes) and find 10 things that need repair.
So be prepared, that's all.
The door card is a particle board which deteriorates easily with moisture.
I shot a bit of water through a spray bottle at this lower section and worked a little bit of Elmer's Glue

into the dark areas with a tiny flat blade screwdriver. Then I covered it with some wax paper and clamped it.
You are looking at the results. Those little holes are now firm and hold the push pins.
I didn't go overboard with the wax paper. Just enough to cover the holes and make it easy to remove, as shown.
Next, I used some weatherstrip adhesive (the yellow stuff) to glue the vinyl to the particle board and clipped it with some clothes pins.
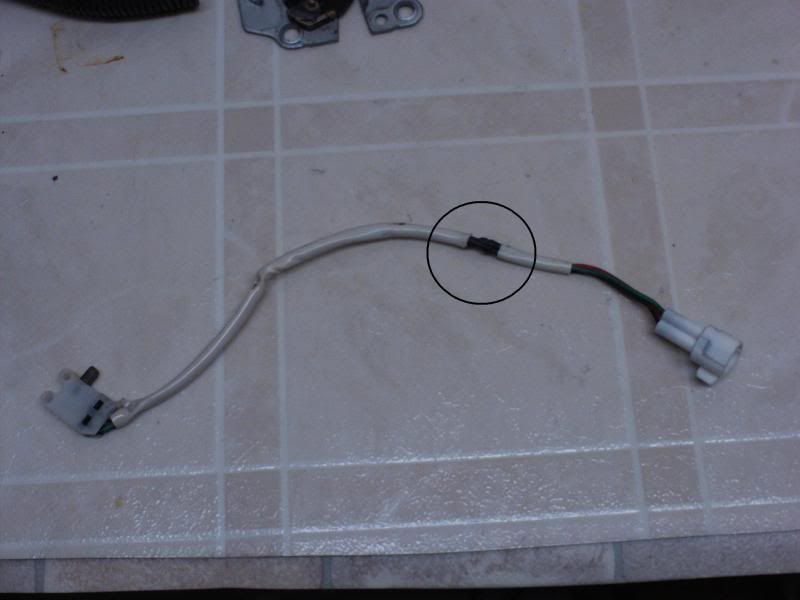
The actual door lock on removal
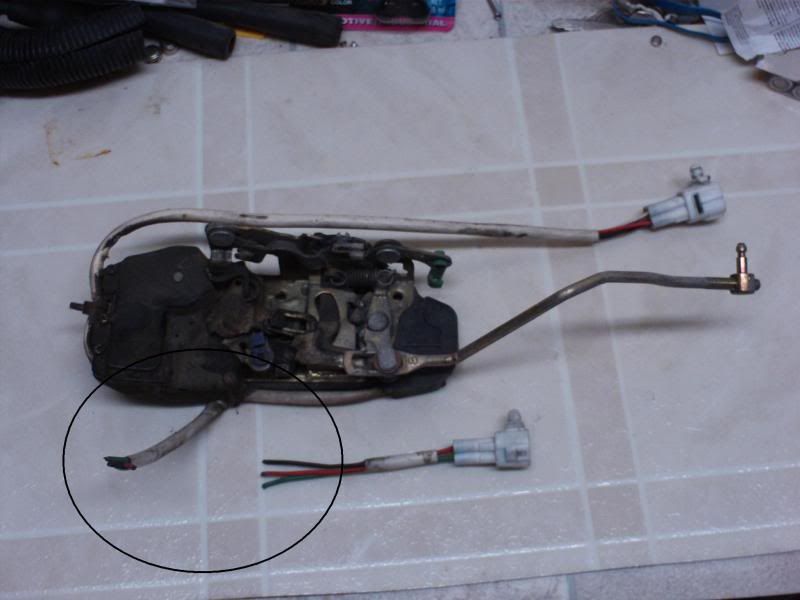
had a broken set of wires.
That is why I had to take it out of the door.
One Phillips screw and the mechanism is visible for cleaning and new grease:
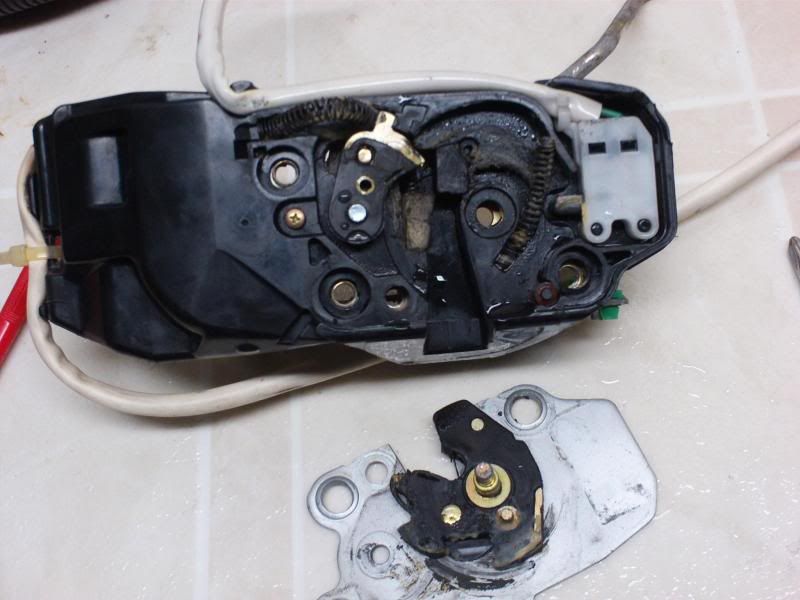
After checking the switch with an ohm meter, it appeared to be working, so it was probably a good idea to solder the wires back together:
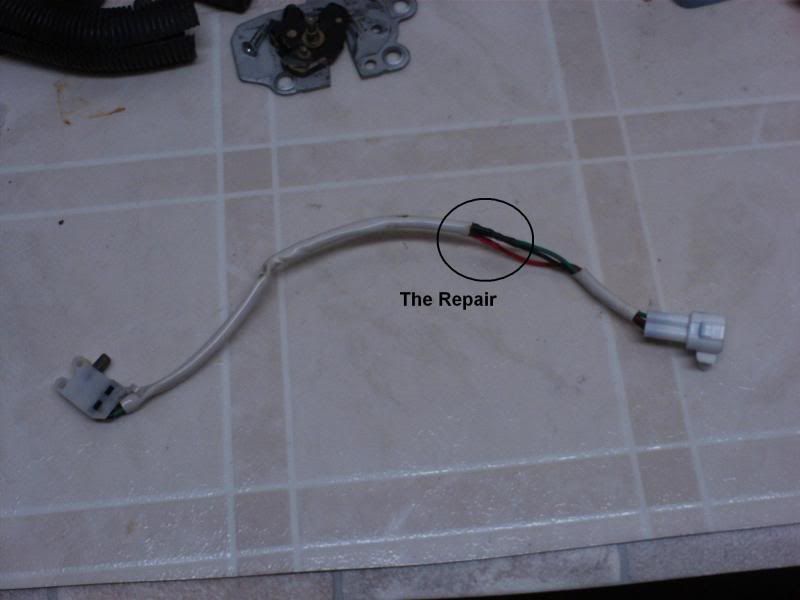
and then slide the little insulation back over the shrink wrap
A word on door adjustment.
The outside latch is easy to adjust once you decide to go as deeply into the door as I did.
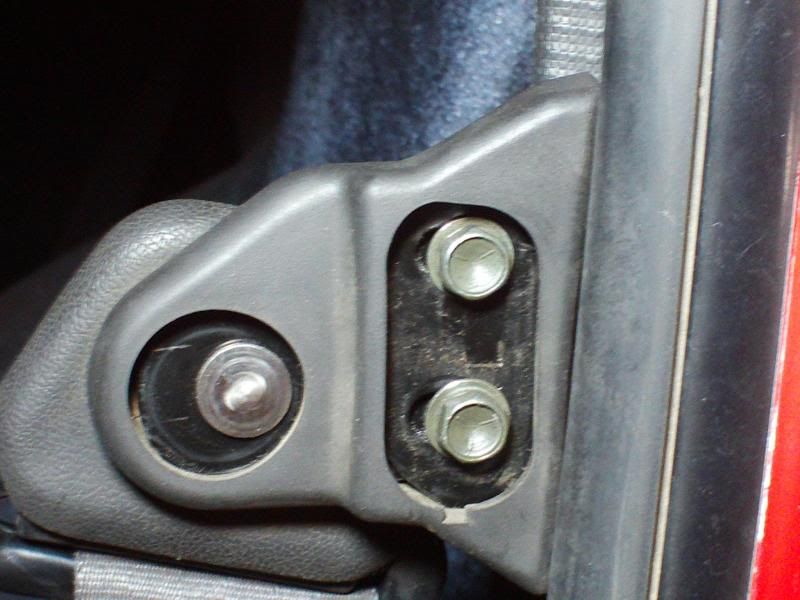
All you have to do is pop the little plastic 'keeper' on the inside of the latch, remove it carefully from the latch and twist the little nut/tit affair a few turns counter clockwise (looking from the top). That will cause the latch to be actuated sooner in the pull of the handle. This avoids the dreaded broken outside handle pulls that seem pretty rampant in neglected Swifts and Metros.
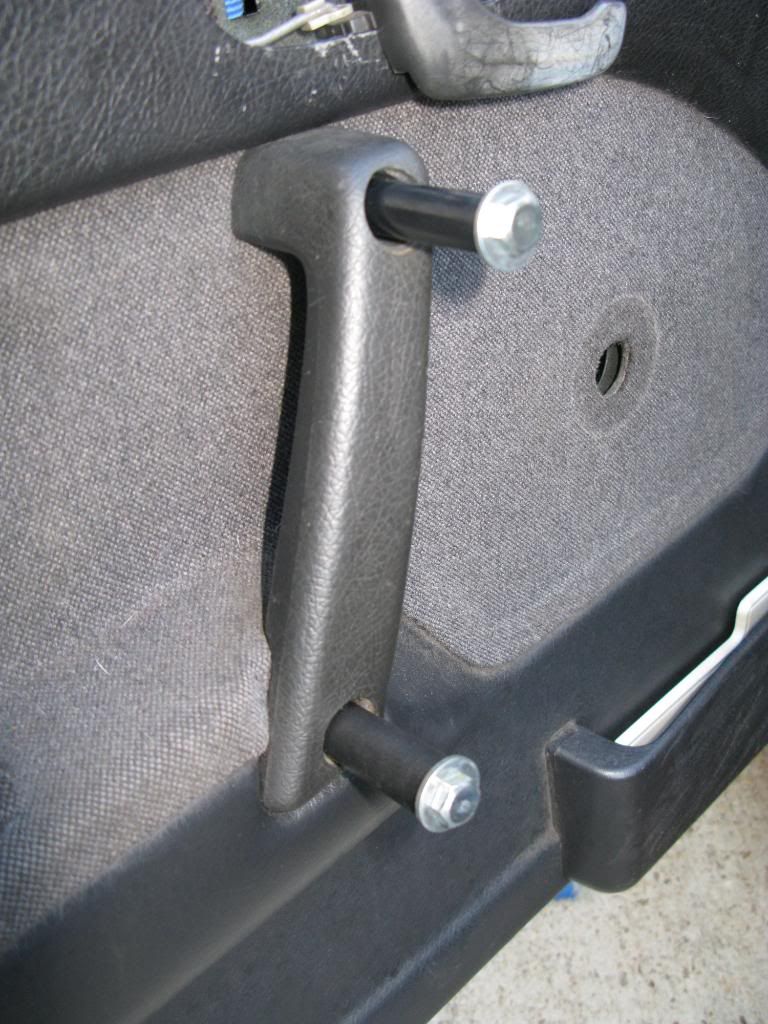
In case you are wondering what the little nut/tit affair is, here's a picture of it:
and it is the shiny part sticking out to the right.
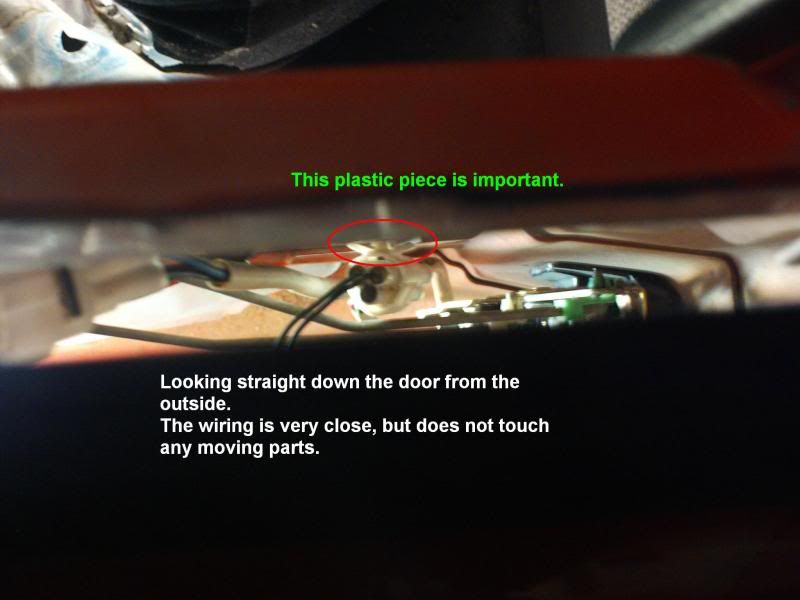
Maybe the last person to fix the door (there was broken glass inside the bottom of the door) didn't route the wires properly, allowing them to be sheared.
Here is a view down the top of the door through the window slat showing how close the clearances are:
After the lock wiring, window regulator, and door hinges were adjusted lubed and/or cleaned, a new vapor barrier was made using some clear stock obtained at a hardware store and a template. Again, the '89-'92 template is fine, but you have to make allowances for the seat belt retractor.
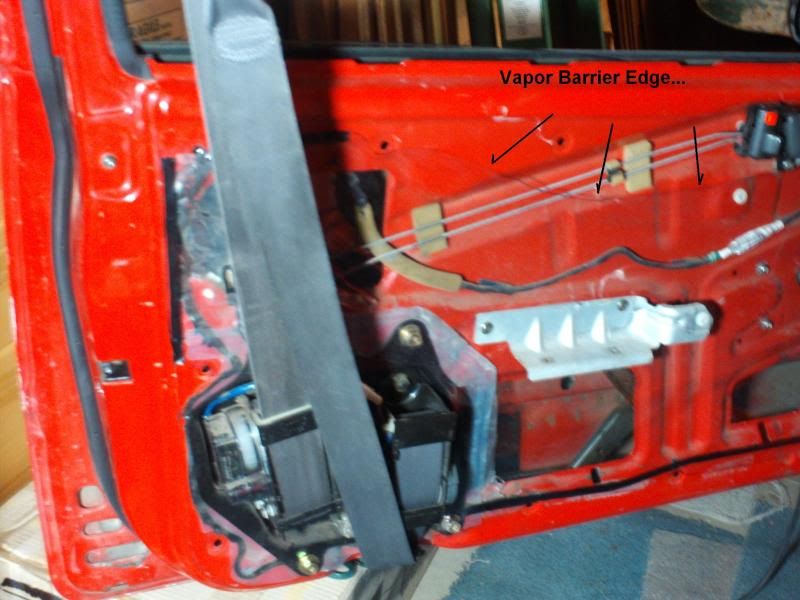
The clear plastic vapor barrier isn't really visible in the picture unless you look carefully.
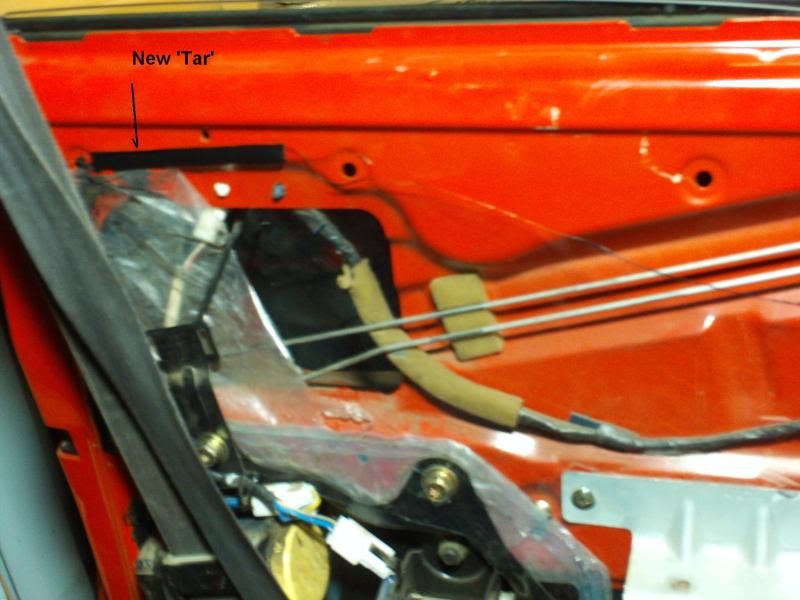
There is a black tar like substance which is used to hold that plastic vapor barrier in place.
I always forget the name of that stuff, so I'll look it up again and post it here in case you want to go off and buy some for a later project.
CRL Black 1/16" x 3/8" Butyl Architectural Tape(note the size; that is stock size...)
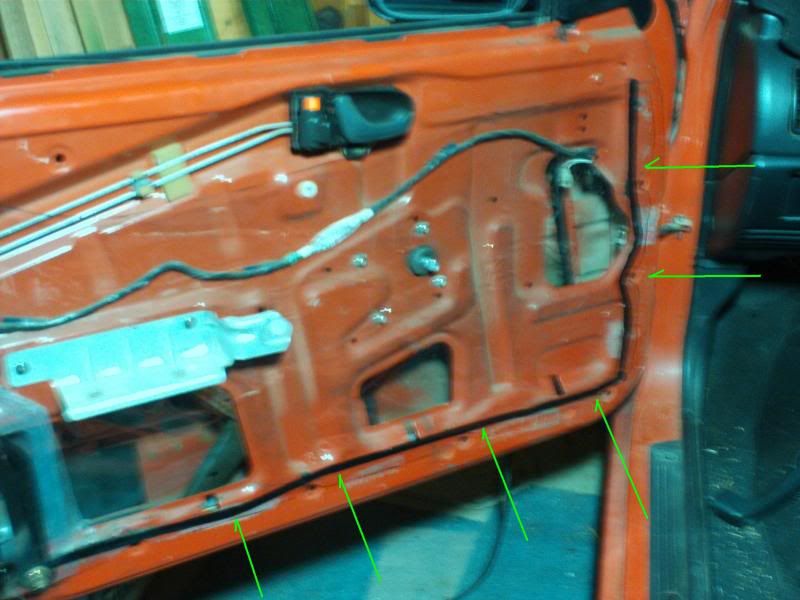
'The Devil is in the Detail' so here is a picture of a short section which should also get some of that tape:
and here is another view toward the front of the door; make sure to avoid your push pin holes:
(now the regulator has the original 4 Phillips head screws
)
Here's a bit of '92-'94 specific information:
Getting the door to shut right might involve that
seat belt metal part at the top of the door.
Use a tiny flat blade screwdriver to pop out the protective rubber cover and you will see 2 bolts which take a 10 mm socket:
and it should be a snap to fix that if it is hitting.
Don't wait 4 years like I did!

Be patient, work carefully and pay attention to detail.
When you are done
you will be amazed at how easily the door shuts. The damage to the door vinyl at the bottom is temporary.
The damage will fade with time.
Although I didn't take pictures, this project required removing the front fender and fender liner.
You will probably need to replace a few of those black push pins, as they get old and crack.
That gives you excellent access to the door hinges so you can adjust the door 'perfectly'.
Before assembly, a bit of sound deadener was applied to the inside of the fender and door.
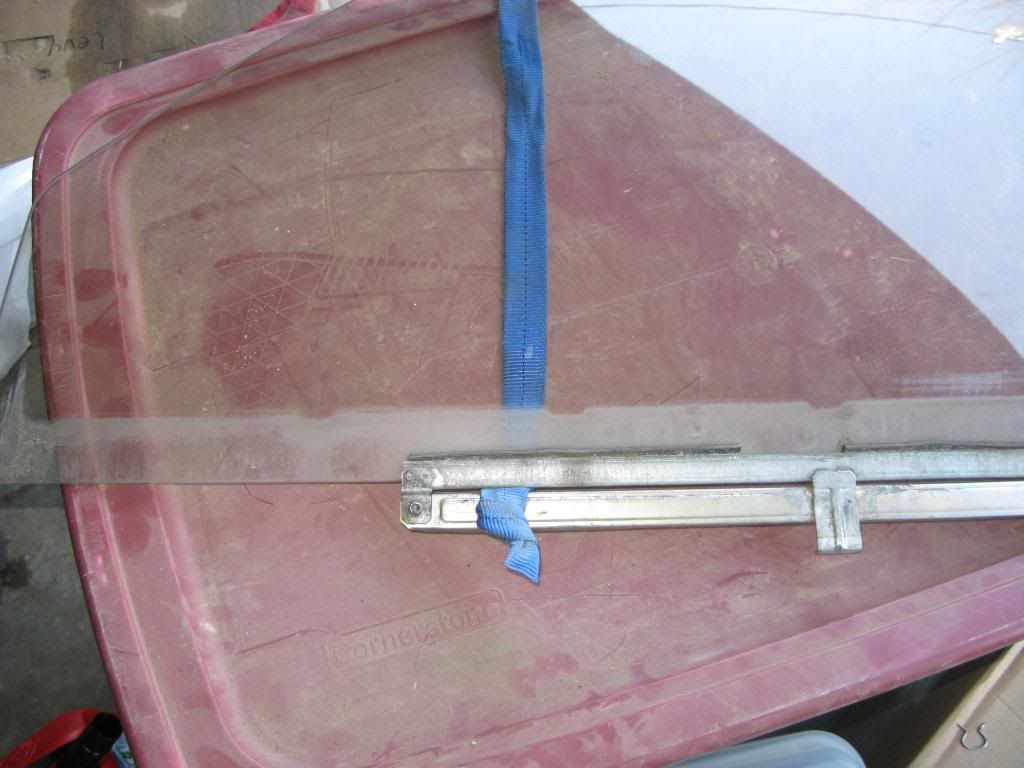
You should also dig out a spray bottle of silicone for your window runners, and I found a part of one runner on the floor of the door, so I needed to pull out the 'weatherstrip adhesive' and glue that part back into the metal window channel.
The door lock has two sets of wires. The one set which was NOT broken work the automatic lock mechanism.
The other set apparently works a buzzer under the dash???
If someone has a factory manual on the subject, this thread would be a nice place to post the pages.
Maybe it's a bit late for this door, but it might help the next guy.
Now that this door is adjusted and put together correctly, it will be easy to take apart if needed, and there will be no surprises.
Having an engine which is efficient with no leaks is important; having a door which is quiet, opens easily, doesn't have to be slammed and a window you don't have to pull while rolling up?
Priceless!