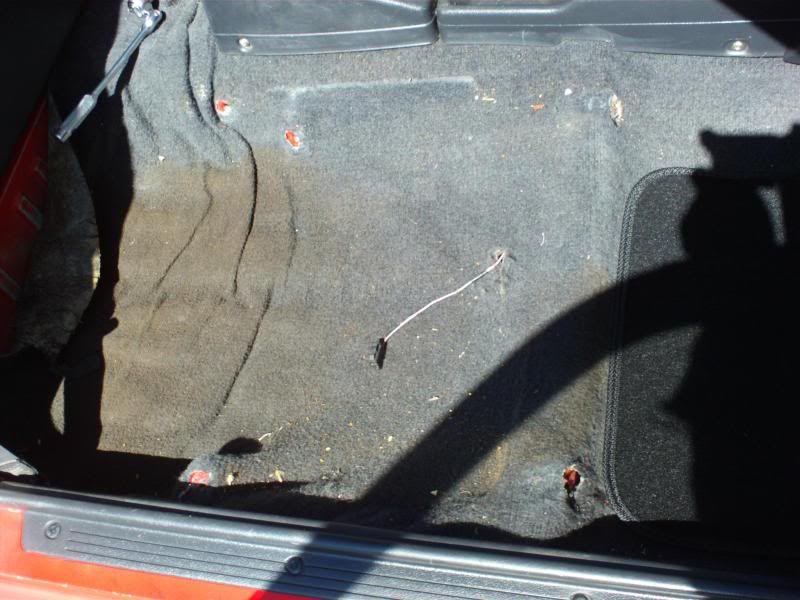
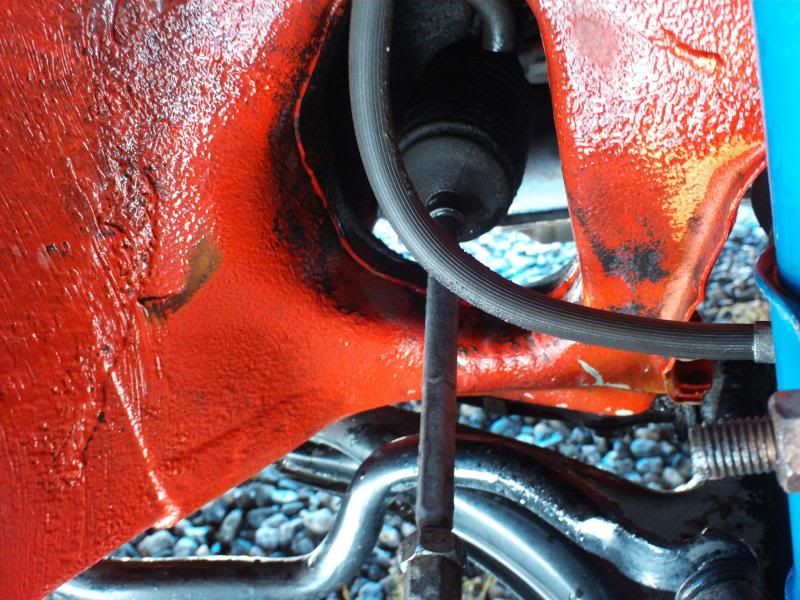
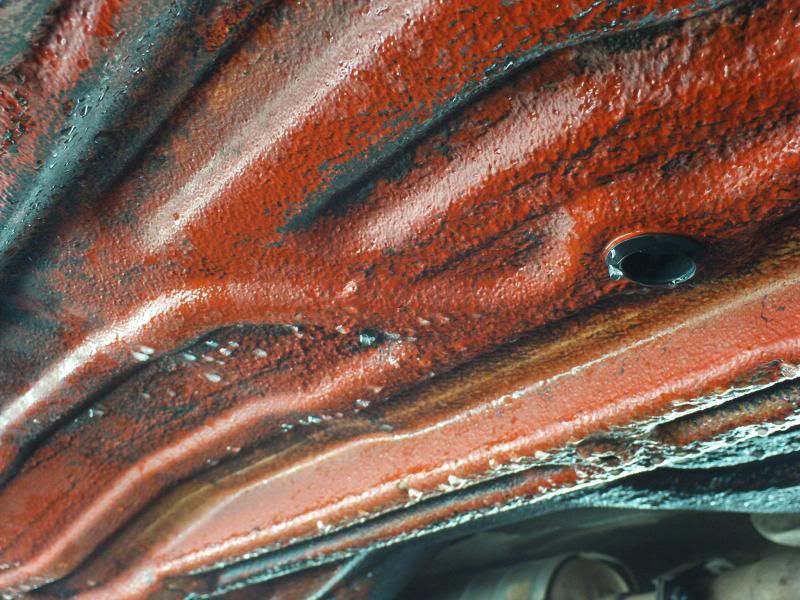
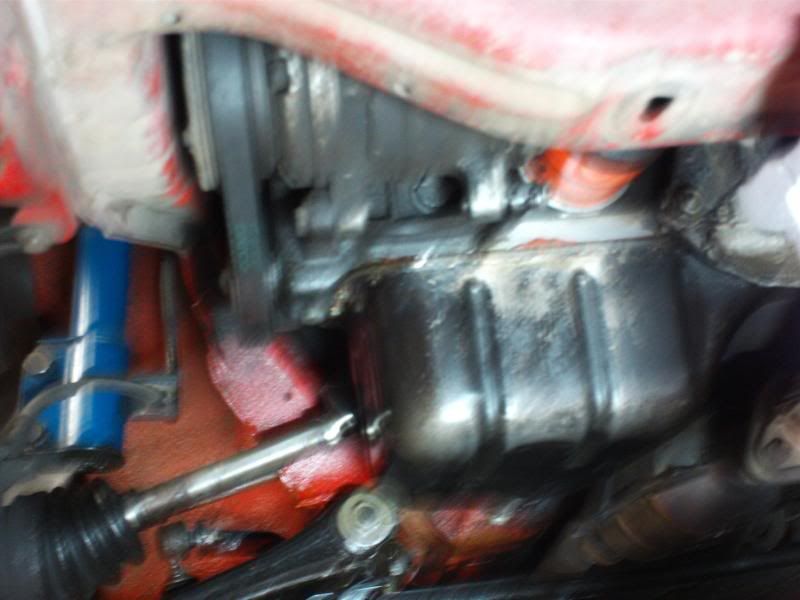
In April, I soldered a wire into the radiator plug. There was just a tiny bit of actual wire showing:
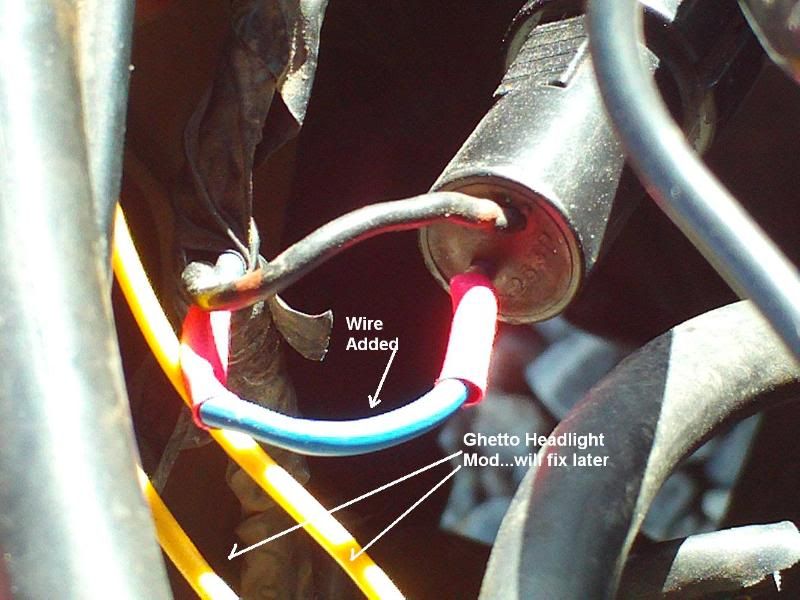
and I added a length of blue wire to it. Unfortunately, the bit of wire showing wasn't enough, and during some electrical repairs this week, the wire broke:

If you have this problem, you can go to the junkyard and snip another off a donor car and then solder it in place.
For me, the junkyard is almost a 100 mile round trip.
An alternative is to take the female half of the connector apart.
You start by releasing the locking tabs on the inside of the spade connectors.
Then, you push the two connectors out of the black holder, wires and all.
It takes a bit of careful effort, but you can end up with the rubber plug and two wires with connectors.
Then, you pull a new section of wire through the plug, solder it, and put the connector back together.
Sorry, didn't get pictures for a step by step, but you get the idea.
The 'electrical gremlins' had changed the headlight wiring so that only the low beams would work.
To fix that, the original healight plug
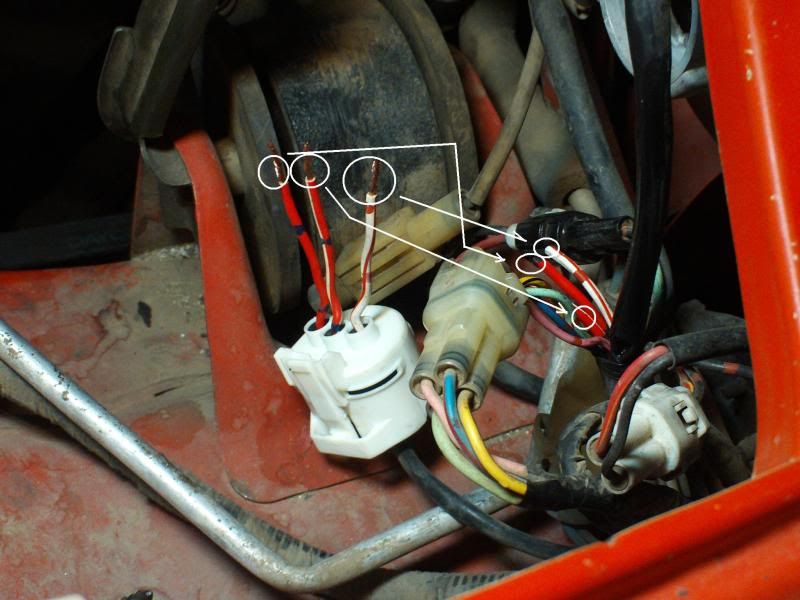
had to be repaired
(on each side).
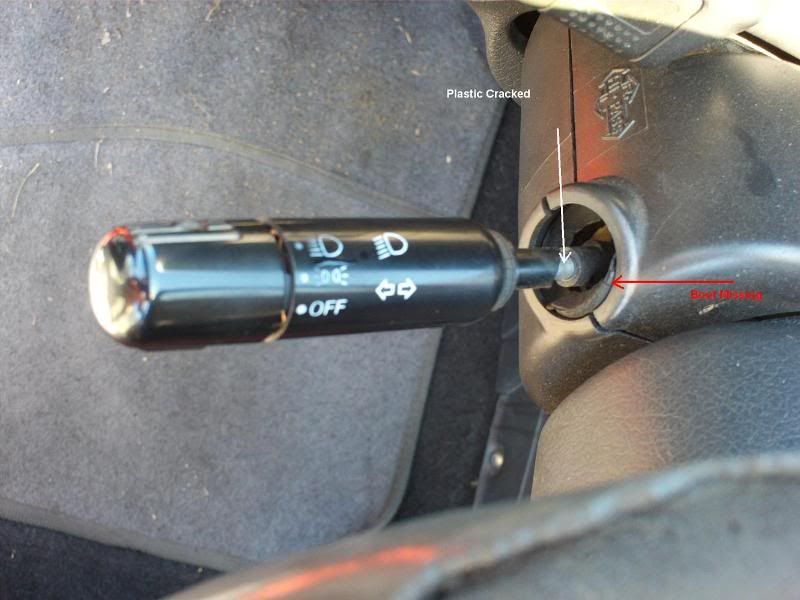
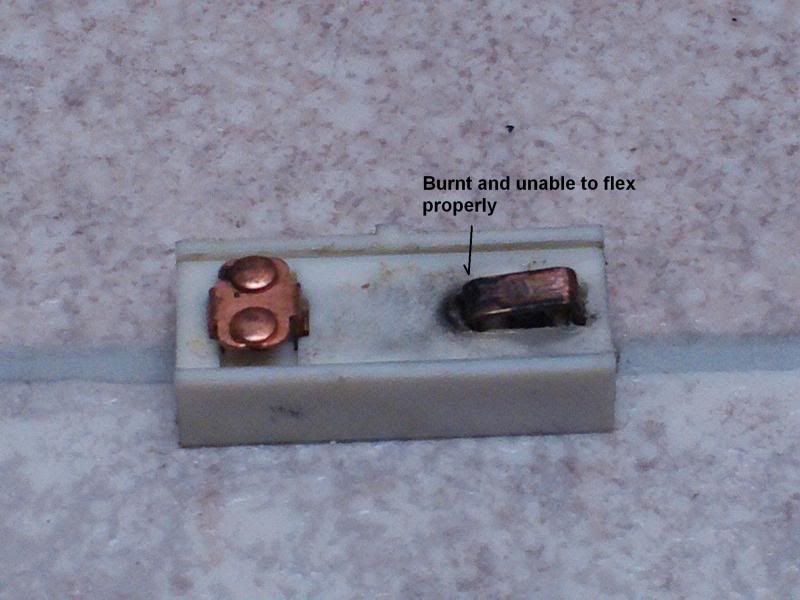
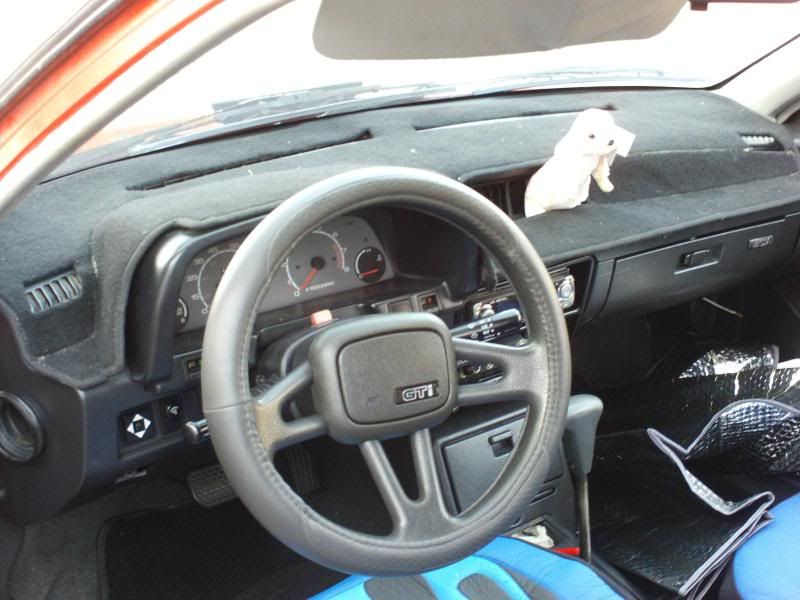
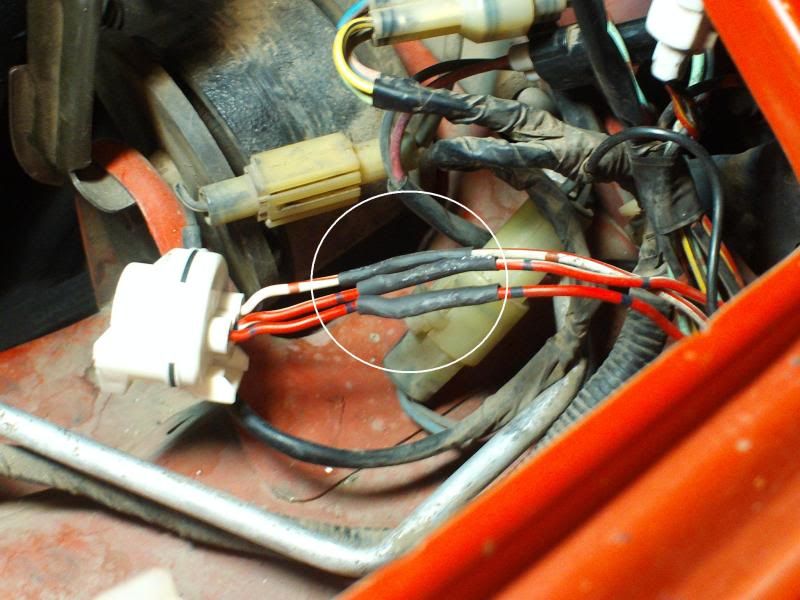
Once the headlight plugs were repaired, the steering wheel was pulled and the wiring to the 'combination switch' was removed.
Here it is:
prior to disassembly.
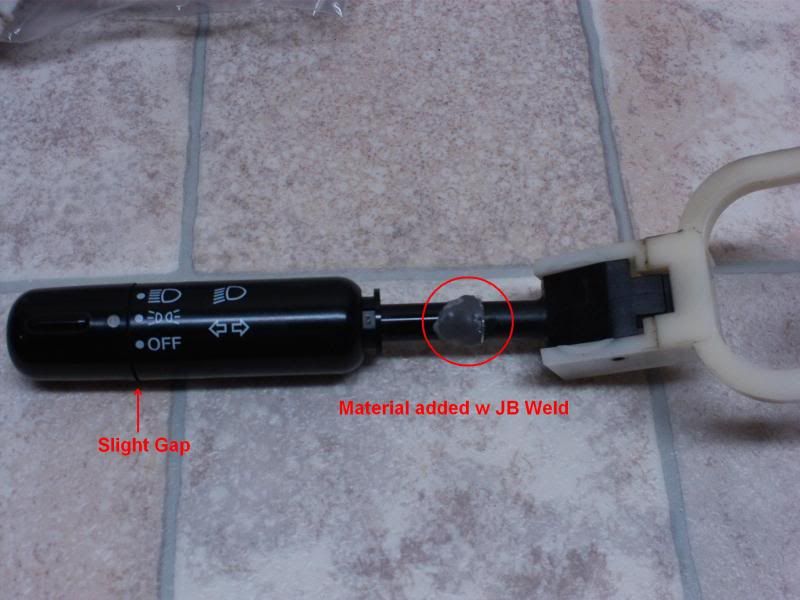
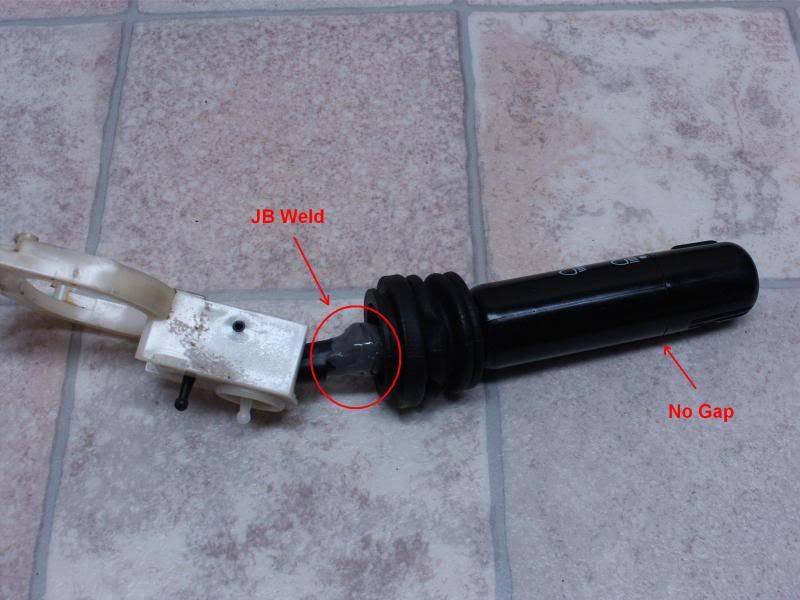
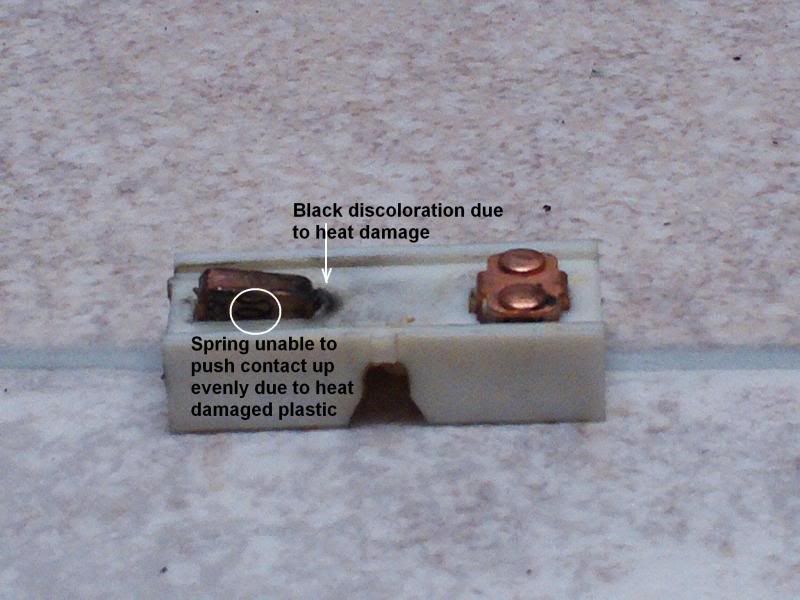
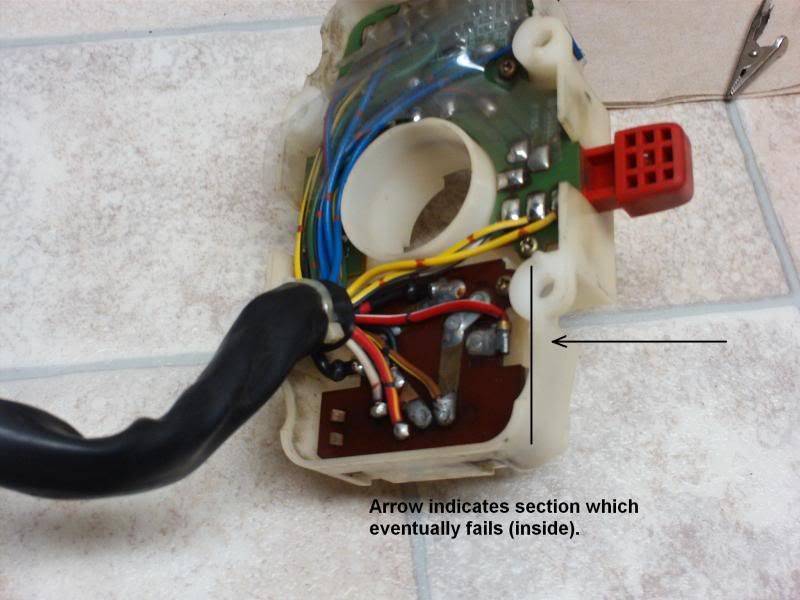
The insides were cleaned and the sliding mechanism was rebent so it wouldn't jam.
Then the contacts were given a thin coating of high temperature grease and the switch was put back together.
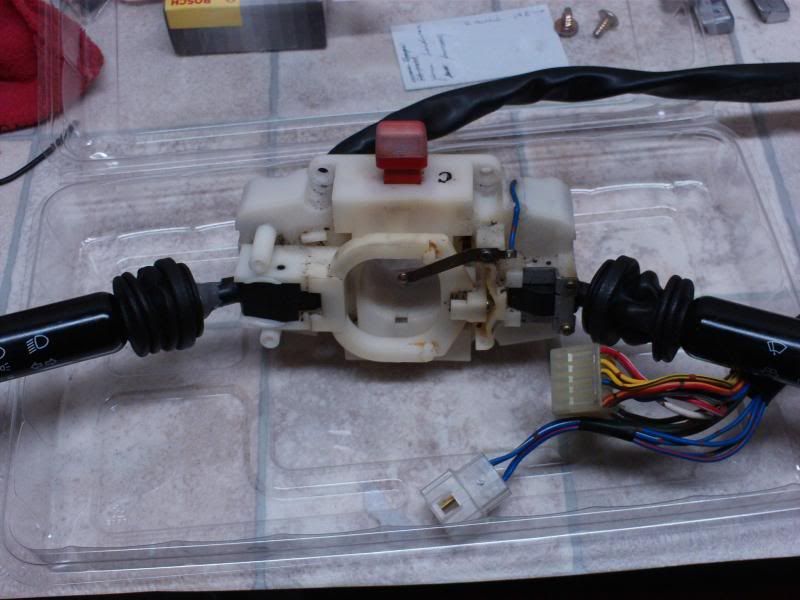
Unfortunately, the (-) wire in the loom was burned and caused a 'no light' situation.
So, another switch was sourced and disassembled. Then the slider was installed in that switch with a +++ result.
Alternatively, you could do the ground repair outlined by our Moderator, Lihtan.
Actually, his repair helped me isolate that one particular area as a problem in this car.
Thus, the previous owner had bypassed the headlight circuit because of two reasons:
-bad ground (Lihtan has posted the fix)
-bad combination switch (repaired)
This car will not get much dark 'duty', so the fix should be OK.
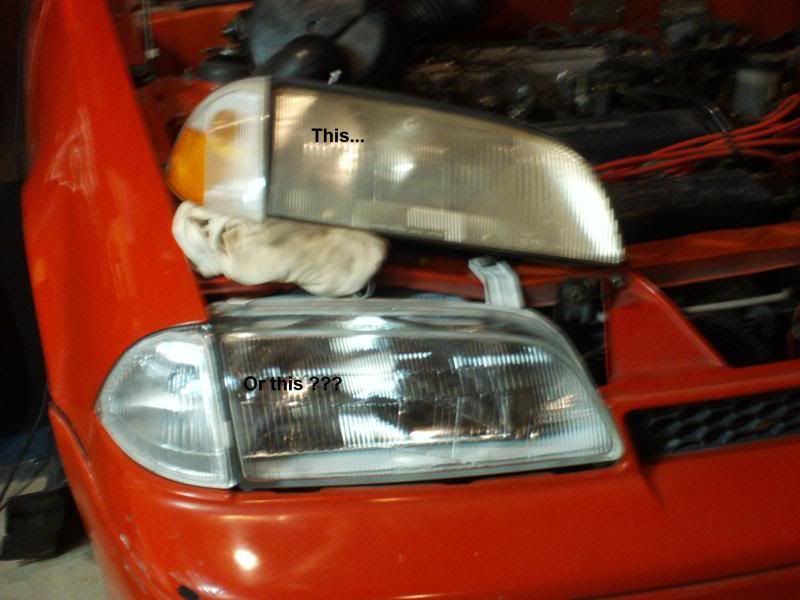
Next, there was a special request from 'Her Ever Loving Highness' that a set of glass headlights which had been taking up space in the garage be installed on her beloved Rrrr.
Since I had JUST repaired the stock system, I was hesistant, but what the heck.
She's pretty decent, and I did a mock up of a glass headlight/clear corner for her:
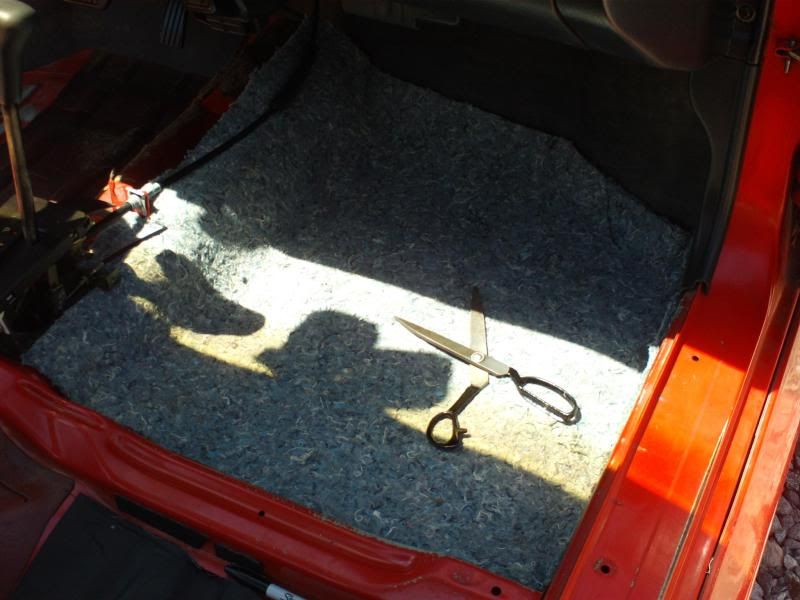
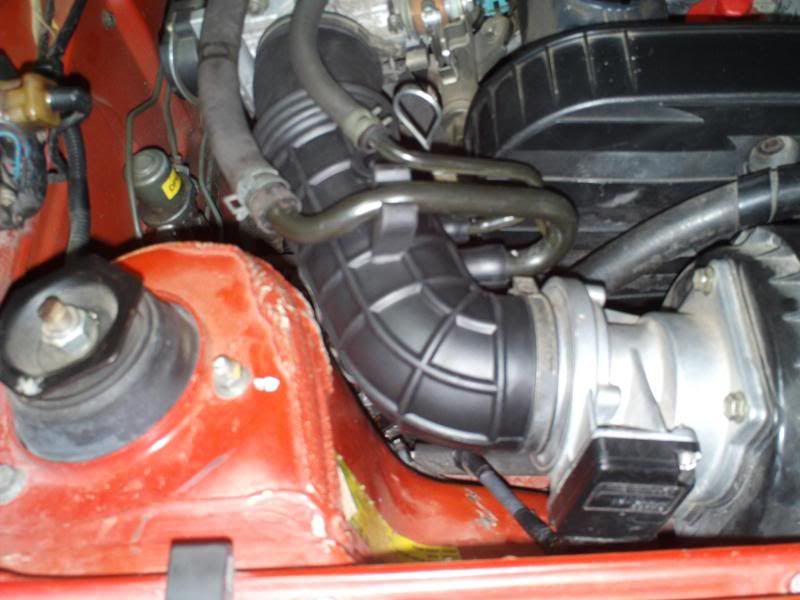
Those of you who have installed glass headlights (or any headlights, for that matter) know that you have to remove the fender liner. Since it was already off, I dug though a few boxes and came up with a rubber strap to replace the missing one on her air intake which should eliminate another rattle. Also, just like on the driver's side, there is a splash shield available for the passenger side.
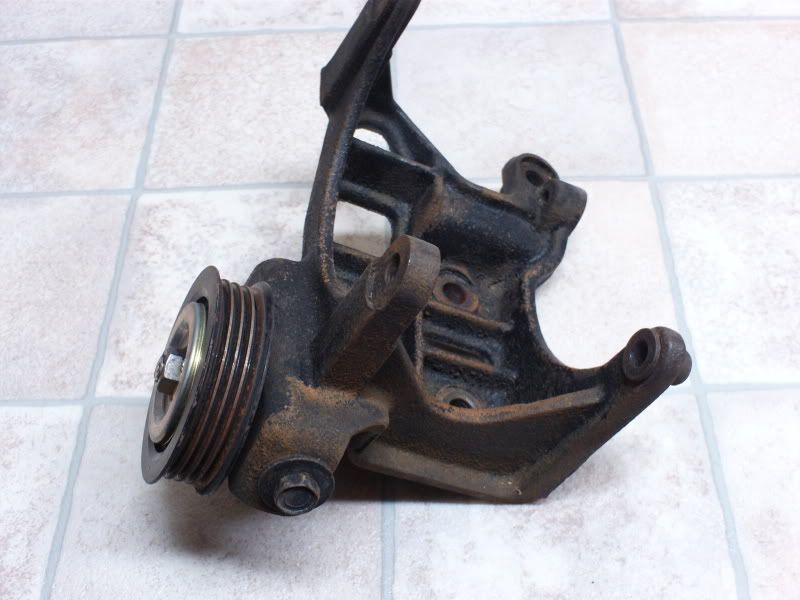
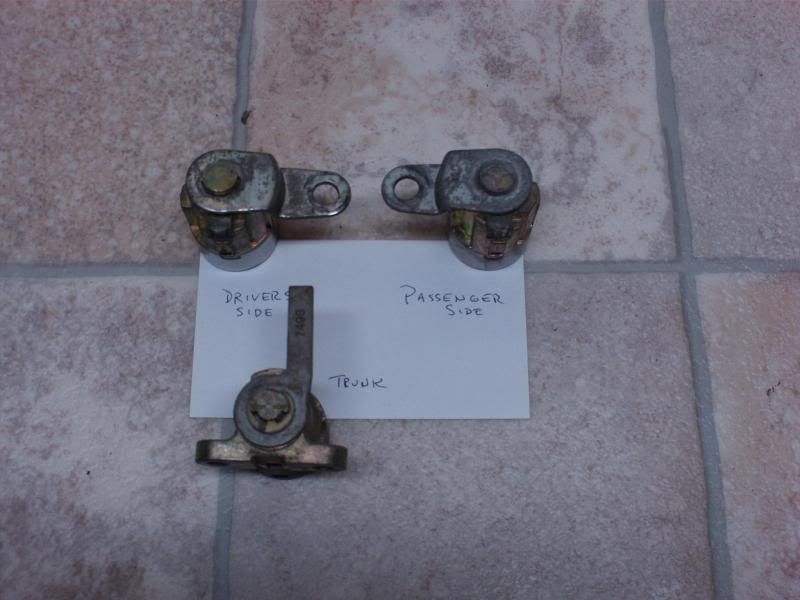
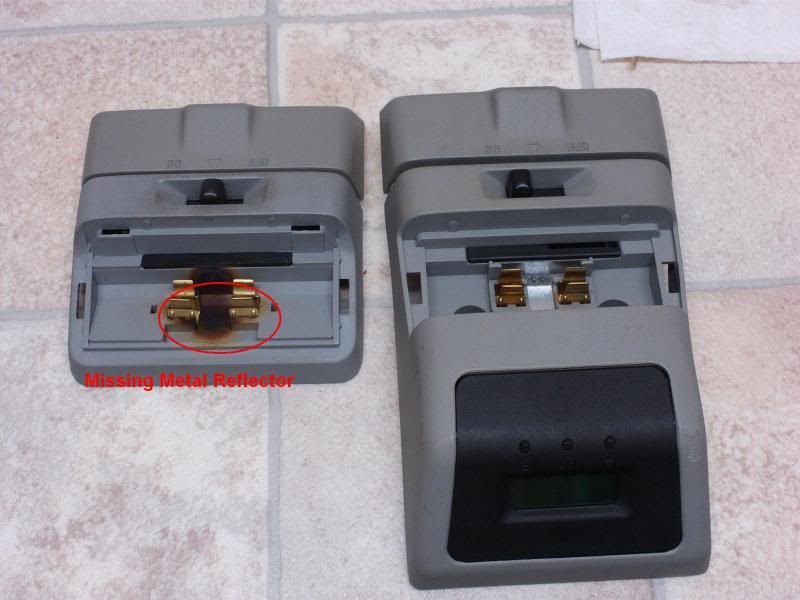
Just a short word about these:
There are two types.
Here's a picture of the two for comparison:
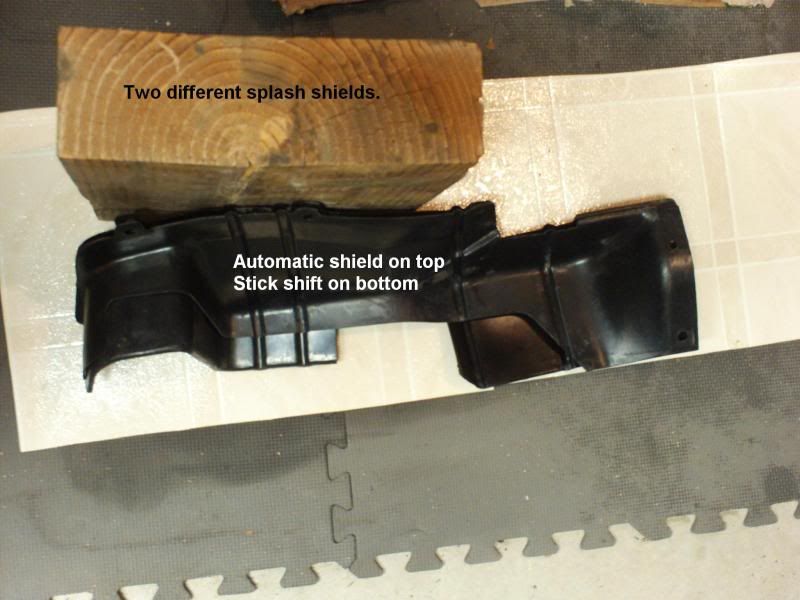
these come in handy if your engine has some oil leaks and it confines them to a narrow spot, rather than spewing the entire undercarriage on one side with crankcase gunk, although this might be desirable in some regions.
She liked the glass headlights (ugh

) which means all my hard work soldering the old connectors for the headlights was for naught and they needed to be clipped off, stripped and tinned to accept the different (9003) bulbs that the glass headlights require.
When given a choice to keep the amber/clear corners vs. the clear corners with amber bulbs she chose the latter.
That meant a trip to town to get a pair of amber clear corner bulbs.....................
Once the first light was installed, it was time for a picture:
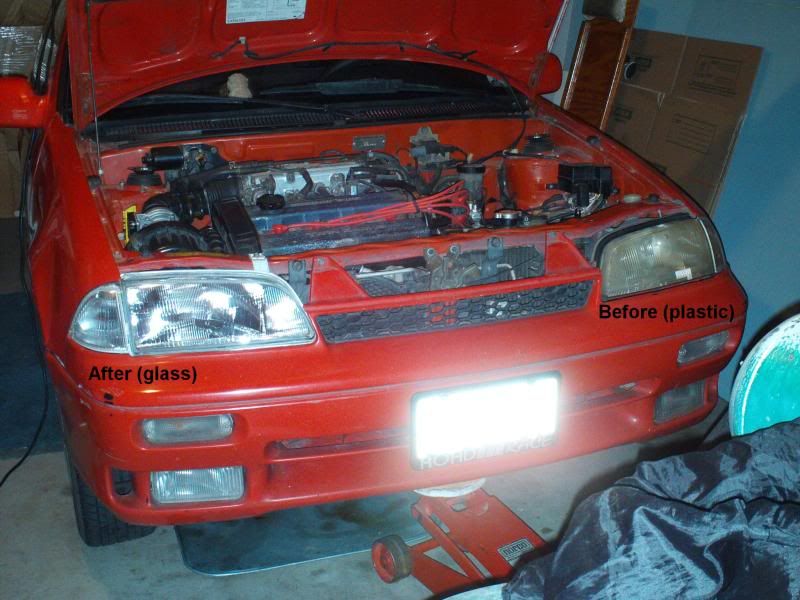
and a double check.
Yes, she liked it better.

So, time to roll up the sleeves and hit the driver's side.
Eventually, it all worked out.
The headlights were installed and adjusted.
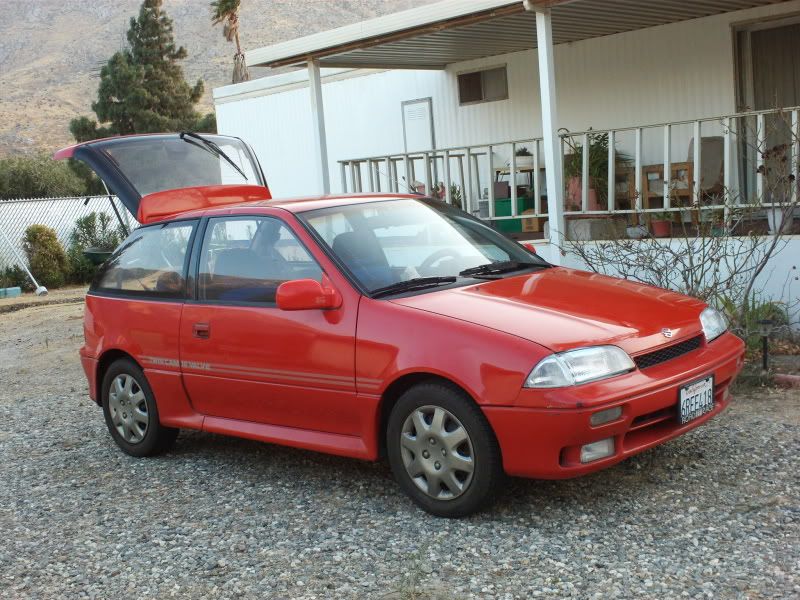
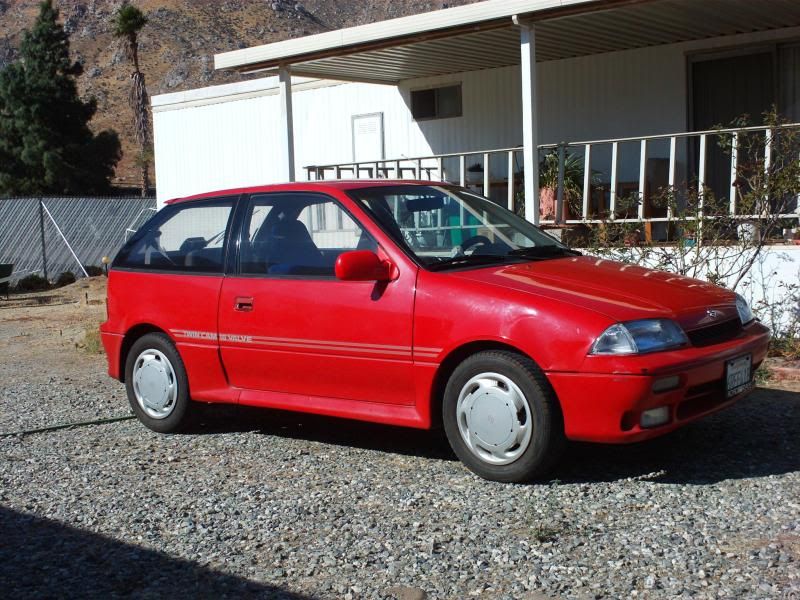
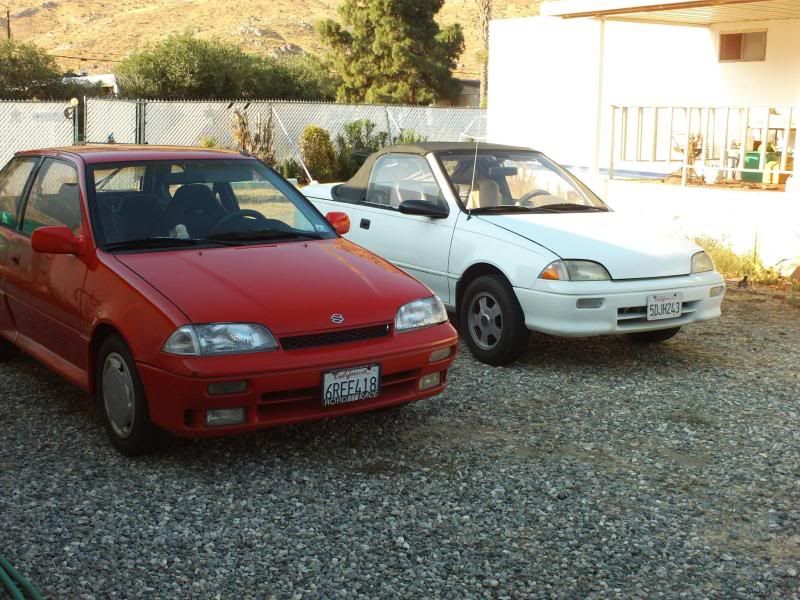
Here, she is showing off her TWO commuter cars. First a face on
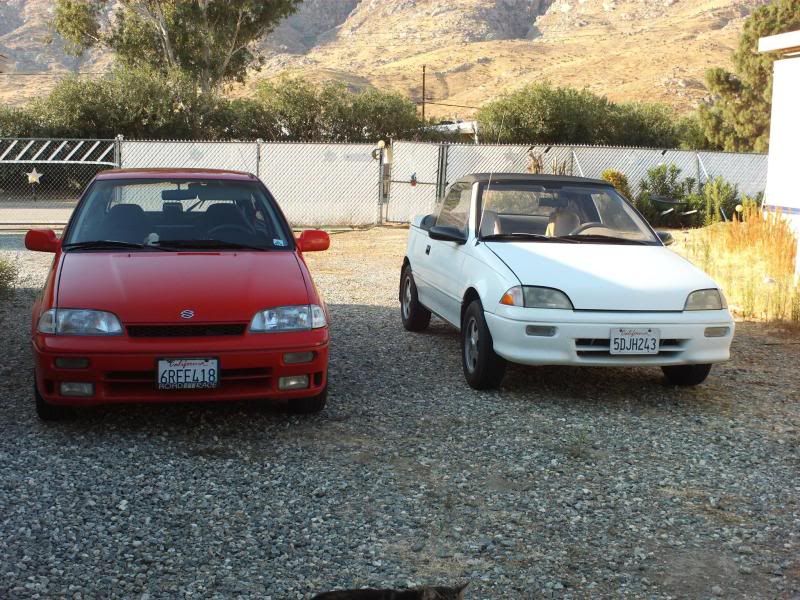
and now a bit more of an angle to show the differences in clear corner/amber clearance lenses:
If history is any indication, this car will save us quite a bit of money over buying a new car and should be a reliable daily driver. She likes the GTi because of its ability to maneuver in traffic and accelerate. I popped the hood at the gas station last night, and the fellow walking by was all google eyed over the size of the engine. He thought it was a Geo and when he saw the DOHC he said "WOW, how did they get that engine in there?". This car will NOT save us a bundle at the pump, as I
don't see it as an economy car. But as they say, 'If you're gonna play, you've gotta pay!' Current fuel economy is 29-33 depending on her driving style and A/C use.
It still needs a bit of care, but for now, at least all the lights are working properly.
This post was mostly about electrical repairs. All I can tell you is to be patient, take your time, and carefully investigate. Use your tools (the most expensive tool I used was a $5 Harbor Freight digital volt/ohm meter...) and take it one step at a time. It can be frustrating, but just walk away, sleep on it, and come back the next day more determined and more careful. You can solve it! I had many delays, and did not find the problem immediately. Plus, I had TWO problems. So concentrate and you will be fine. If you get stuck, ask on the forum. Before tackling the headlights, I had read Lihtan's fix and thought mine didn't have that problem. How wrong I was!
By returning the electrical to stock I was able to find my problem(s) and now it works fine. I'm no electrical genius, and if I can fix mine, you can too.